Cute and Easy American Flag Nail Tips. For a fun and easy approach to showing your patriotic spirit, focus on painting the tips of your nails with miniature American flags. This cute design is less time-consuming and perfect for those who prefer a more understated look. Opt for short nails to keep it neat and manageable.
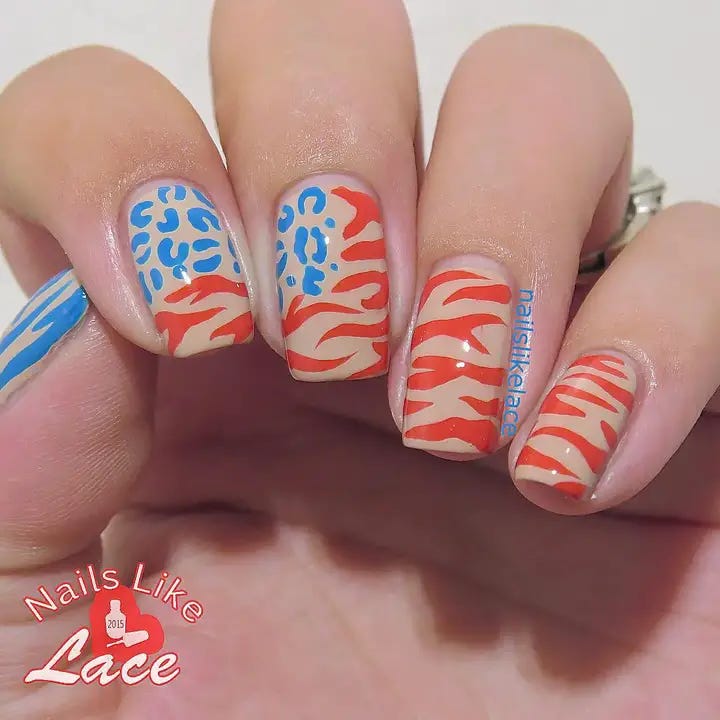
Modern Camo Meets Classic Flag
This unique nail design pairs a modern camouflage pattern with the traditional American flag nails, creating a bold statement. The camo pattern is rendered in grayscale, contrasting sharply with the vibrant red and blue of the flag designs.
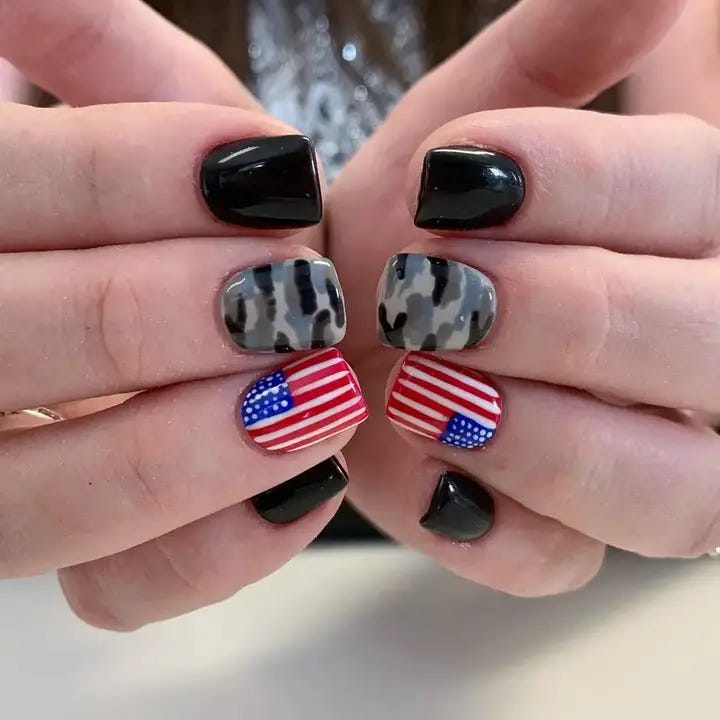
- Polish: Black, white, and gray for the camo; glossy red and blue for the flag
- Tools: Sponge for the camo effect, stencils for precise flag stripes and stars
- Top Coat: Matte top coat for a modern finish
DIY Instructions:
- Apply a base coat to protect the nails.
- For the camo nails, dab on black, white, and gray polish with a sponge to create the camo effect.
- For the flag nails, paint a white base, add red stripes, and a blue corner with a fine brush.
- Detail the blue area with small white stars using a precision tool or a tiny brush.
- Finish with a matte top coat to contrast the glossy elements of the flag and enhance the camo texture.
Festive Array Of American Spirit
This collection offers a vibrant and festive portrayal of American flag nails with a delightful variety of designs. From sparkling blue nails to classic stripes and symbolic stars, each nail contributes uniquely to the overarching patriotic theme.

- Polish: Deep blue glitter, classic red, and stark white
- Tools: Striping tape, star stickers, fine-detail brush
- Top Coat: Different finishes (matte, glossy, glitter) to enhance the diverse textures
DIY Instructions:
- Prep your nails with a base coat to ensure a smooth polish application.
- Apply two coats of red polish on selected nails. Use blue glitter polish for a standout effect on others.
- For striped nails, apply white polish first, then use tape to mark even lines before painting over with red.
- Use a fine brush or stickers to create star patterns on blue nails.
- Experiment with top coats — matte where you seek a subdued texture, glossy to make colors pop.
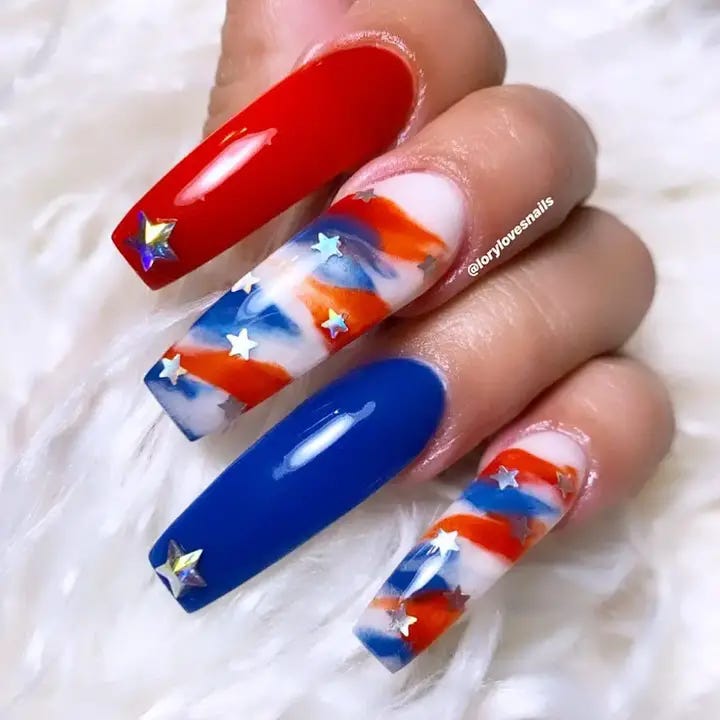
Wavy Stripes And Starry Accents
This design takes a creative twist on the traditional American flag nails by introducing wavy red and white stripes paired with a solitary star-spangled blue nail. The whimsical waves add a dynamic movement to the design, making it a standout choice for festive celebrations.
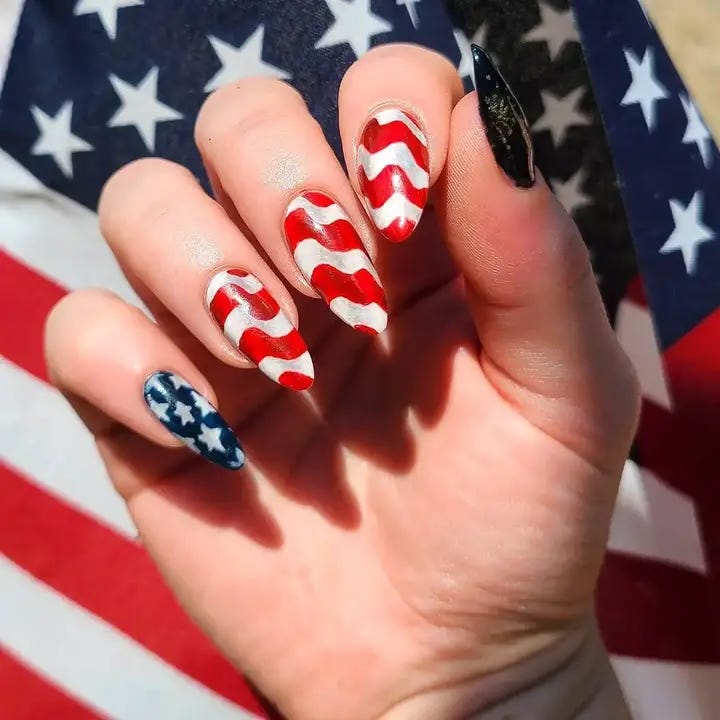
- Polish: Glossy red, white, and starry blue
- Tools: Detailing brush for waves, stencil for the star pattern
- Top Coat: Glossy to accentuate the design and protect the polish
DIY Instructions:
- Apply a base coat to protect the nails and enhance polish adhesion.
- Paint the base colors on each nail — red for the waves and blue for the starry accent.
- Use a detailing brush to create wavy red and white stripes on selected nails.
- For the starry accent nail, apply a blue base and use a small stencil to add white stars.
- Finish with a glossy top coat to ensure each nail is vibrant and durable.
Artistic Waves And Patriotic Icons
This eye-catching design pairs creative flair with patriotism through its intricate patterns and vibrant colors. The use of fluid lines, detailed icons, and striking color contrasts makes each nail a piece of art, celebrating American flag nails in a uniquely modern style.
- Polish: Deep blue, classic red, and pure white
- Tools: Detailing brushes, dotting tools, and stencils for precise icons
- Top Coat: Glossy top coat for a vibrant finish
DIY Instructions:
- Start with a clear base coat to enhance the durability of your manicure.
- Apply the base colors, choosing one for each nail to create a varied background.
- With a fine brush, draw intricate designs and patterns such as waves or stripes.
- Use stencils or freehand techniques to add patriotic symbols like stars or flags.
- Finish with a glossy top coat to ensure the designs stand out and last through the celebrations.
Bold Stripes And Vivid Colors
Showcasing a bold mixture of red, white, and blue, this manicure uses sharp contrasts and classic American flag nails elements to make a statement. Stripes and checkered patterns alongside solid color nails create a vibrant look that’s perfect for any patriotic event.
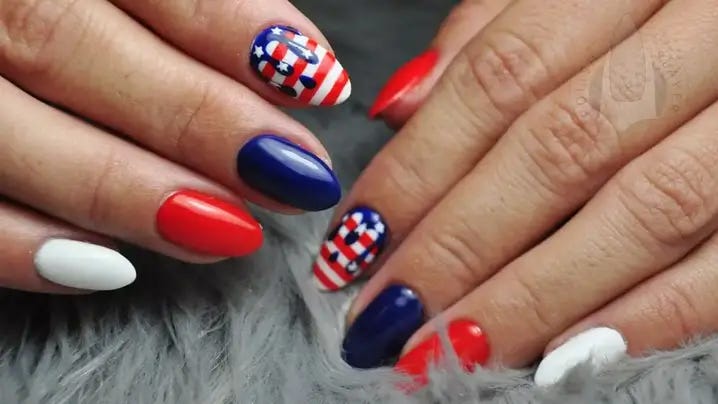
- Polish: Glossy red, deep blue, and stark white
- Tools: Tape for striping, brushes for detail work
- Top Coat: High-gloss top coat to seal and protect the polish
DIY Instructions:
- Prepare your nails with a base coat for longevity.
- Apply single-color polishes to alternate nails, creating a varied base.
- For striped and checkered designs, use tape to achieve sharp lines.
- Paint carefully with contrasting colors over the prepped patterns.
- Finish with a strong top coat to maintain the manicure’s brightness and durability.
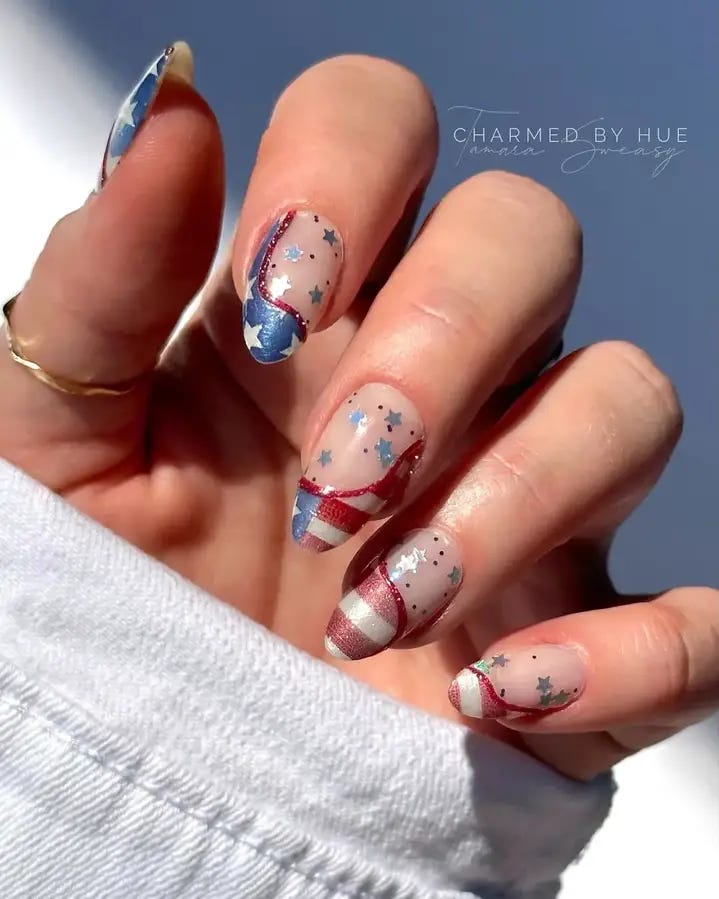
Translucent Elegance With Bold Accents
Featuring a mix of translucent and bold color blocks, this nail design combines subtle beauty with flashy accents. The stars and stripes theme is enhanced by the use of translucent polish, which adds depth and sophistication to the American flag nails design.
- Polish: Translucent nude, vivid red, and deep blue
- Tools: Star decals, striping tape for clean lines
- Top Coat: Matte top coat for a contemporary finish
DIY Instructions:
- Begin with a base coat to protect your natural nails.
- Apply a translucent nude polish as a base on the nails meant for design.
- Use tape to section off areas for color blocks on designated nails.
- Paint bold red and blue sections, adding star decals for a patriotic touch.
- Complete the look with a matte top coat for a stylishly modern finish.
Elegant Fusion Of Color And Texture
This design beautifully combines soft pink hues with vibrant patriotic details. Each nail is crafted to stand out, featuring American flag nails, intricate fireworks, and dazzling glitter over clear polish that captures the celebratory spirit.
- Polish: Soft pink, clear polish, red and blue glitters
- Tools: Fine brushes for detailed designs, glitter flakes, striping tape
- Top Coat: Glossy for a shiny finish and to secure the glitter in place
DIY Instructions:
- Apply a base coat to protect your nails.
- Paint some nails with a soft pink shade, leaving others clear as a base for glitter.
- On the clear nails, apply a layer of clear polish and sprinkle red and blue glitter flakes before the polish dries.
- For the flag-themed nails, use fine brushes to paint stripes and stars with precision.
- Seal all designs with a glossy top coat to enhance durability and shine.
Sparkling Patriotic Nail Art
This array of nails showcases a spectacular use of red, white, and blue glitters and decals to create a textured look that’s both bold and celebratory. Each nail features a different approach, from glitter gradients to star-studded blue designs.
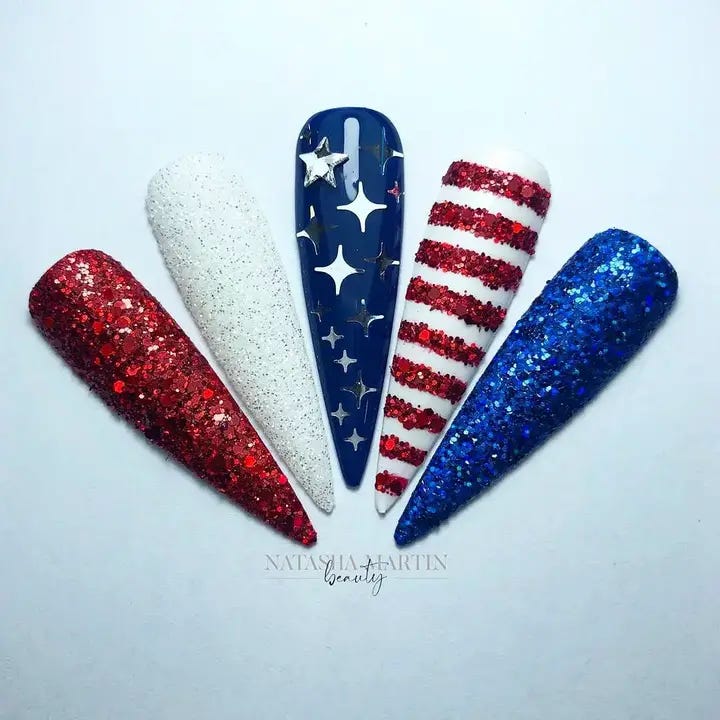
- Polish: Red, white, and blue glitters
- Tools: Sponge for gradient effects, star decals, and striping tape
- Top Coat: Clear glossy to maintain the glitter’s sparkle and keep decals in place
DIY Instructions:
- Start with a base coat to prevent staining from the glitter.
- Apply the base color on each nail, depending on the desired final effect (solid or gradient).
- Use a sponge to dab on glitter polish for gradient effects or apply directly for solid colors.
- Add star decals or use tape for precise lines where needed.
- Finish with a glossy top coat to ensure the glitter stays vibrant and does not shed.
Celebratory Fireworks And Stripes
Capturing the essence of 4th of July celebrations, these nails feature dramatic fireworks designs against a backdrop of striped patterns, all rendered in classic red, white, and blue. The dynamic artwork creates a sense of movement and festivity.
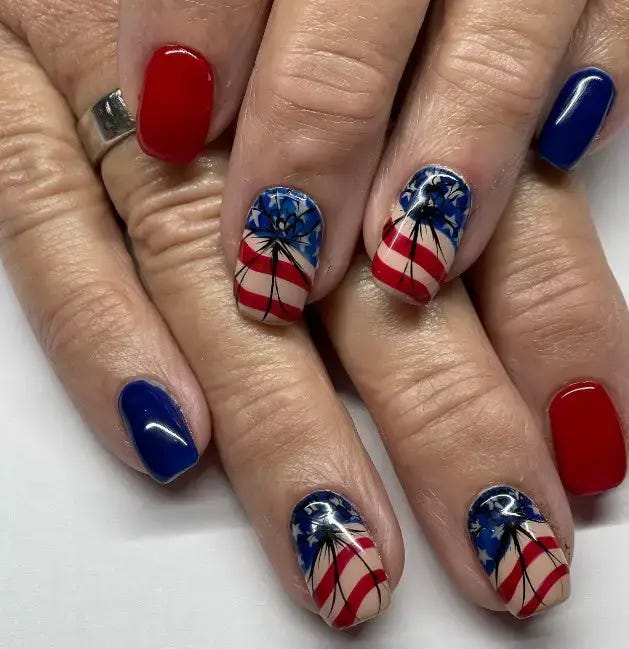
- Polish: Deep blue, vibrant red, and pure white
- Tools: Detailing brushes for intricate designs, dotting tools
- Top Coat: Glossy to protect detailed art and enhance colors
DIY Instructions:
- Prepare the nails with a base coat to extend the life of your manicure.
- Paint the base of the nails in white or blue to serve as the canvas for fireworks.
- Use a fine brush to add explosive firework designs over the base.
- Alternate with striped patterns using striping tape to achieve clean lines.
- Complete the design with a glossy top coat to add shine and protect the artwork.
Whimsical Wave Patterns
This delightful manicure showcases a playful take on American flag nails with abstract wave patterns in patriotic colors. The artistic use of red and blue swirls over a sheer background creates a dynamic and eye-catching effect.
- Polish: Translucent base, red and blue for the waves
- Tools: Thin brushes for detailed wave patterns
- Top Coat: Glossy top coat for a smooth, shiny finish
DIY Instructions:
- Begin with a base coat to protect your nails.
- Apply a thin layer of translucent polish as the base.
- Use thin brushes to draw wavy patterns with red and blue polishes.
- Let each layer dry before applying the next to avoid smudging.
- Finish with a glossy top coat to enhance the design and ensure longevity.
Elegant Stars And Stripes
These nails blend understated elegance with patriotic symbols, featuring stars and striped patterns across a gradient of red, white, and blue. The addition of tiny stars and the subtle color transition capture the essence of the American flag.
- Polish: White, red, and blue gradient polishes
- Tools: Sponge for the gradient effect, star stickers or stencils
- Top Coat: Matte or glossy top coat, depending on the desired finish
DIY Instructions:
- Apply a base coat to protect your nails.
- Start with a white polish base, and use a sponge to apply the red and blue gradient.
- Place star stickers or use stencils to add stars in the blue section.
- Apply a top coat — choose matte for a modern look or glossy for extra shine.
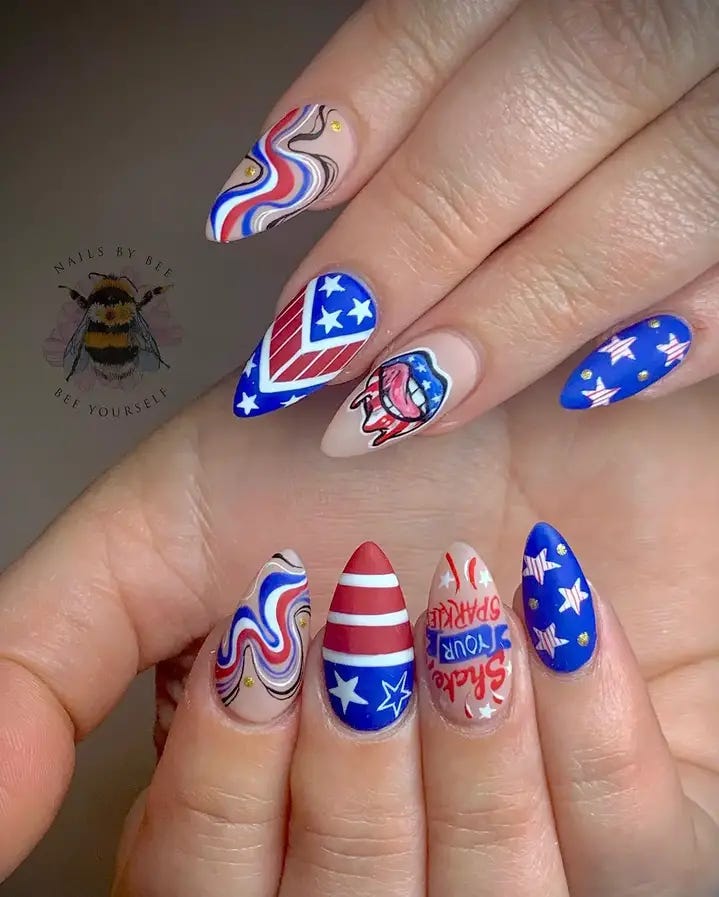
Dramatic And Detailed
This design is for those who love bold and dramatic nail art. It features an array of designs from vibrant stripes and stars to detailed imagery and rhinestone embellishments, each nail telling a story of celebration and style.
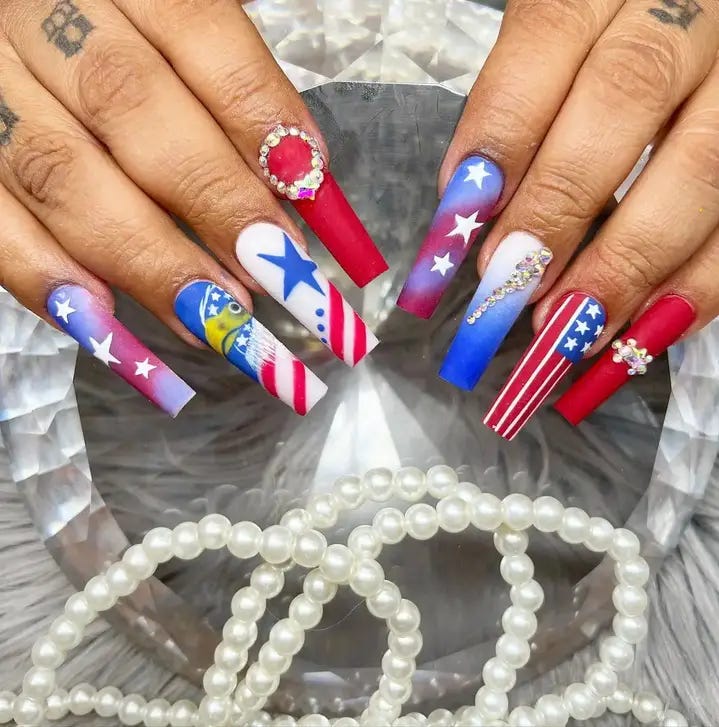
- Polish: Base colors in red, white, and blue
- Tools: Detail brushes, rhinestones, adhesive for embellishments
- Top Coat: High-gloss top coat to secure decorations and enhance durability
DIY Instructions:
- Start with a clean base coat to ensure a smooth canvas.
- Paint each nail with a different design, using brushes for detailed patterns.
- Apply rhinestones or other embellishments while the polish is still tacky.
- Seal the design with a high-gloss top coat to protect your artwork and keep embellishments in place.
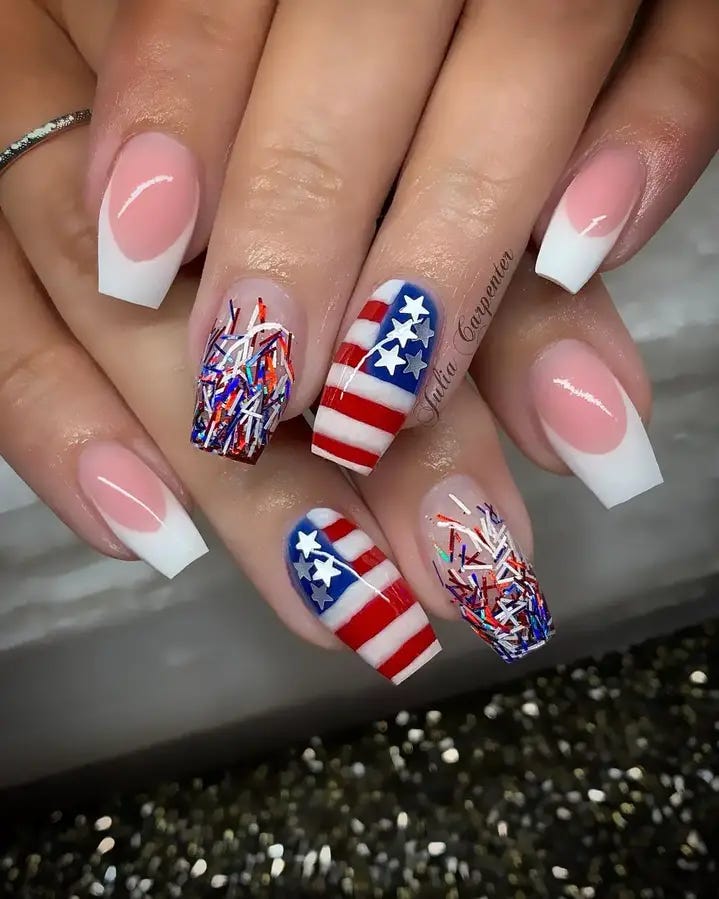
Dazzling Celebration Of Freedom
This set of nails captures the essence of the 4th of July with its sparkling white bases, vivid stripes, and star-spangled designs. The intricate swirl patterns in red and white, set against deep blue backgrounds, evoke a sense of American pride, while clear nails with floating stars offer a whimsical touch to the festive look.
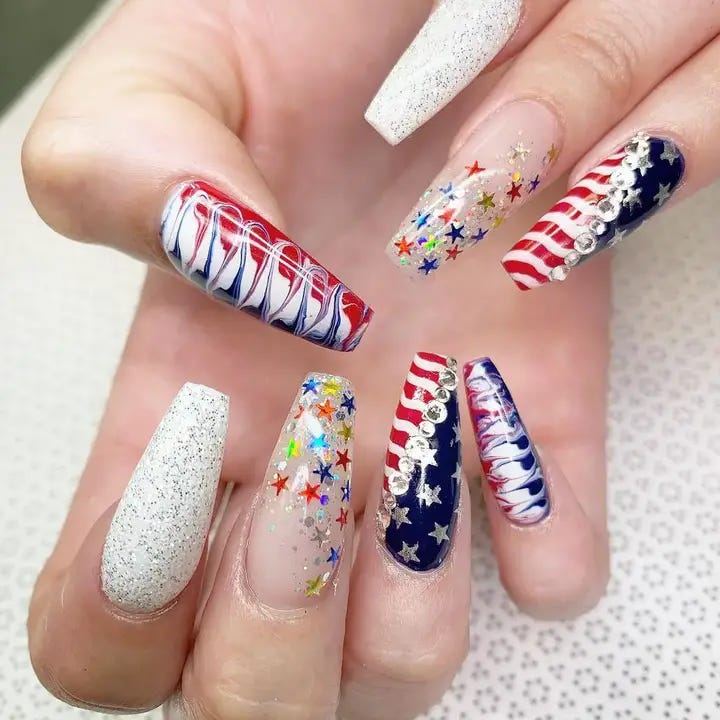
- Polish: White glitter, deep blue, and vibrant red
- Tools: Striping tape, star-shaped stickers, rhinestones, and a fine detailing brush
- Top Coat: High-gloss to enhance the sparkle and maintain the intricate designs
DIY Instructions:
- Begin with a base coat to protect your nails.
- Apply white glitter polish on some nails as the base.
- For the striped nails, use red polish and striping tape to create clean lines.
- Apply deep blue polish on other nails and while still tacky, place star-shaped stickers.
- Embellish with rhinestones strategically to catch the light and add brilliance.
- Seal everything with a high-gloss top coat for a long-lasting finish.
Subtle Patriotic French Tips
These nails offer a subtler take on American flag nails, featuring elegant French tips with a patriotic twist. The white base is complemented by red and blue stripes adorned with small stars, providing a sophisticated nod to the flag’s design.
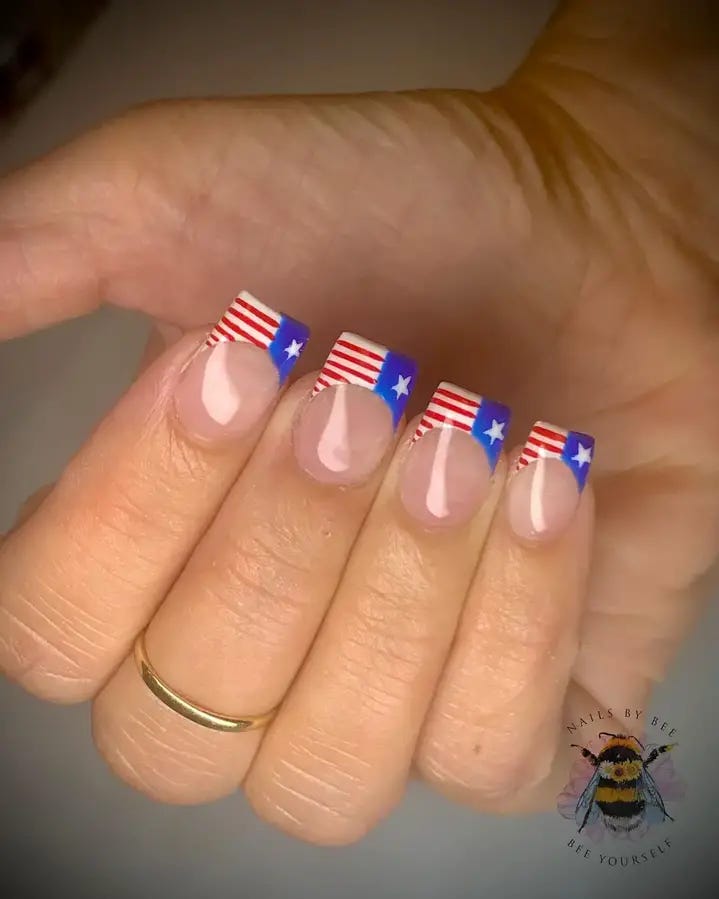
- Polish: Sheer white for the base, bright red and blue for the details
- Tools: Striping brush, small star decals
- Top Coat: High-gloss finish to ensure longevity and enhance the design’s subtlety
DIY Instructions:
- Begin with a clear base coat to protect your natural nails.
- Apply a sheer white polish as the base. Allow it to dry thoroughly.
- Carefully paint thin red and blue stripes at the tip of each nail, using a striping brush for precision.
- Adorn the stripes with tiny star decals for an added patriotic flair.
- Seal the design with a high-gloss top coat for a durable and shiny finish.


0 Comments