End of Summer Acrylic Almond Nails. For those who love a more dramatic nail shape, acrylic almond nails offer a perfect canvas for end of summer designs. Experiment with a color dip technique featuring sunset oranges and deep purples to mimic the breathtaking summer skies, providing a cute and inspirational nail look.
Whimsical Animal Portraits
These nails feature adorable, cartoon-style animal faces in a range of vibrant colors. Each nail is a canvas for a different creature, offering a playful and whimsical touch to the manicure. The attention to detail in the expressions adds personality and life to each design.
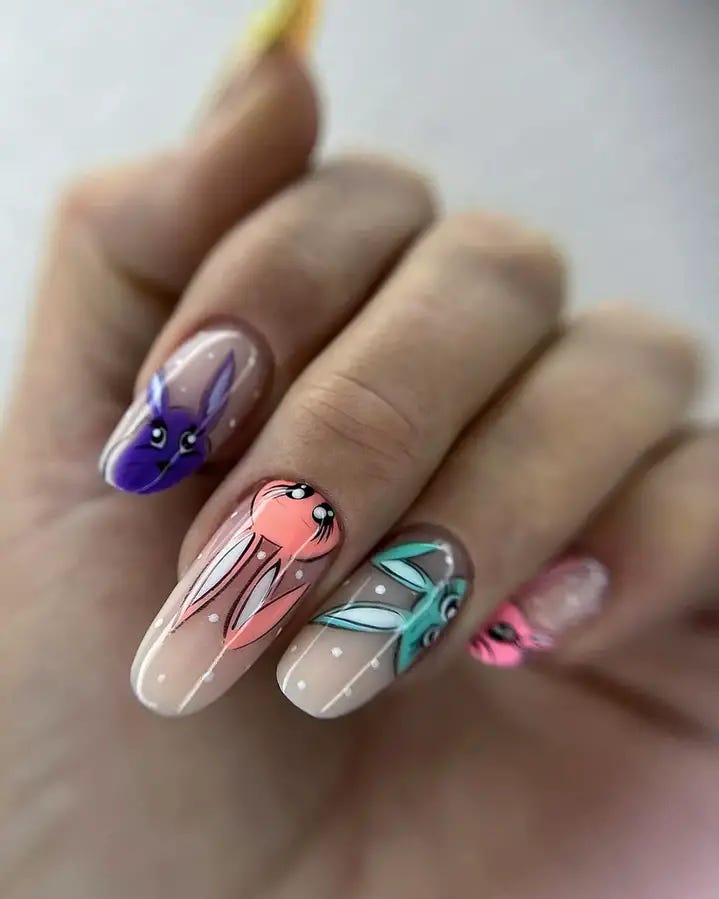
- Color gels: Lilac, Coral Pink, Mint Green
- Detailing tools: Fine brushes, dotting tools
- Top Coat: High gloss for vividness
DIY Guide: Paint each nail with a light base color. Use fine brushes to draw the animal features in contrasting colors, adding details like eyes and whiskers with a dotting tool. Each character should be unique, reflecting a playful aspect of its imagined personality. Finish with a glossy top coat to make the colors pop and the details shine.
Ethereal White And Gold
This design exudes an ethereal charm with its soft white backdrop and subtle gold accents. The additional gold studs add a dimensional, celestial feel, creating an overall look of sophistication and grace.
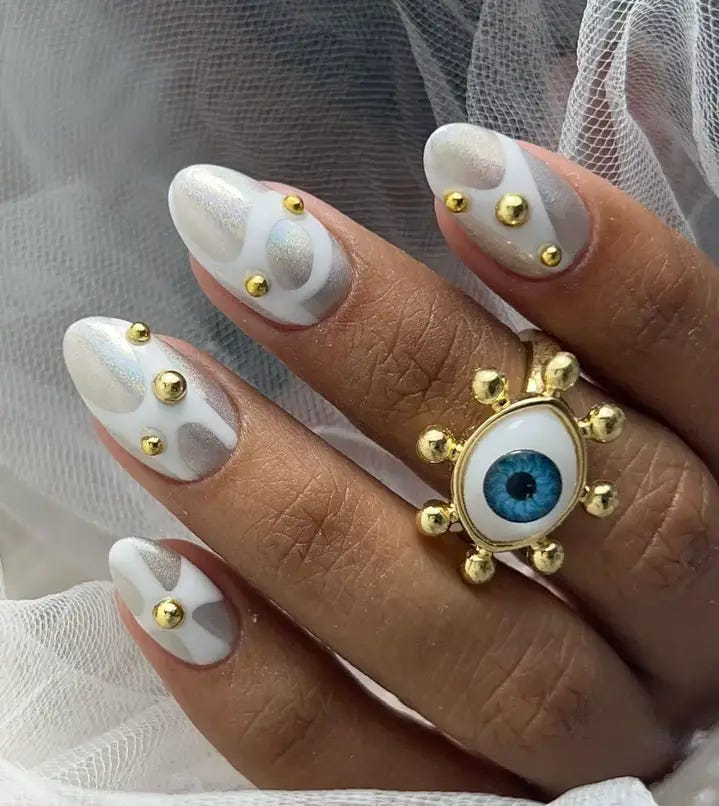
- Color gels: White, Iridescent White
- Decorations: Gold studs
- Top Coat: High gloss for a luminous finish
DIY Guide: Apply a base coat of white color gel, then layer with iridescent white for a shimmering effect. Strategically place gold studs on the nails to create a starry pattern. Finish with a high gloss top coat to enhance the iridescence and secure the studs in place.
Vibrant Summer Floral
Bright and bold, this design features vivid yellow as the backdrop with a splash of colorful floral patterns. It’s perfect for summer days or whenever you need a cheerful boost.
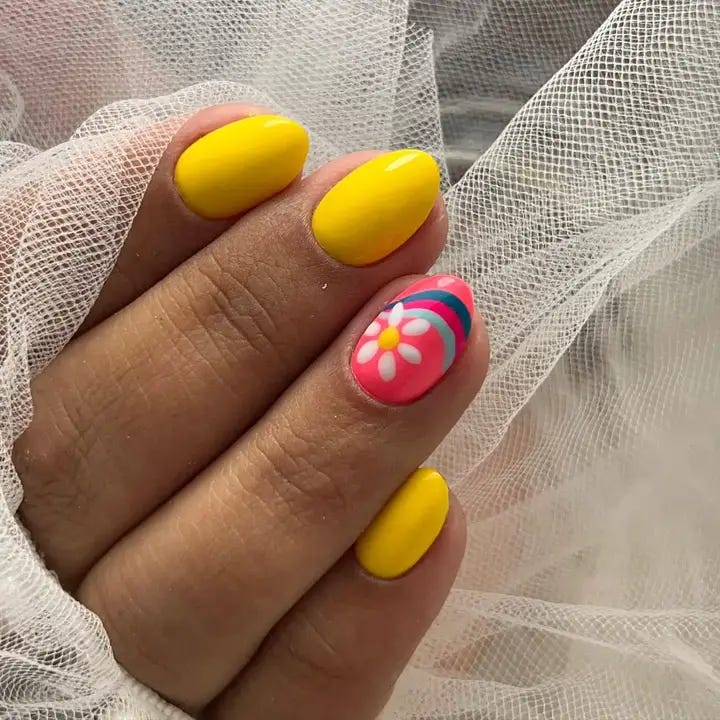
- Color gels: Bright Yellow, Hot Pink, Blue
- Tools: Detailing brush
- Top Coat: High gloss to ensure the colors pop
DIY Guide: Paint the nails with a bright yellow base. Use a detailing brush to add floral designs in hot pink and blue, focusing on one accent nail for a standout look. Finish with a high gloss top coat for a vibrant, enduring finish.
Serene Waves And Bold Accents
Capturing the serene essence of ocean waves, this design blends sky blue and sea green with fluid art techniques to mimic water’s natural flow, accented by vibrant pops of color for a bold statement.
- Color gel: Sky Blue, Sea Green, Vibrant Yellow
- Tools: Detail brush, sponging tool
- Top Coat: High gloss
DIY Guide: Start with a gradient base of sky blue and sea green, smoothly blended with a sponge. With a detail brush, draw delicate wave patterns. Add a touch of vibrant yellow on the tips for a daring edge. Seal the design with a glossy top coat for lasting shine and depth.
Pink Perfection In Monochrome
This nail set is a celebration of pink in various shades and finishes, from a soft matte to a deep glossy tone, united by intricate embossed designs that add a touch of sophistication and depth.
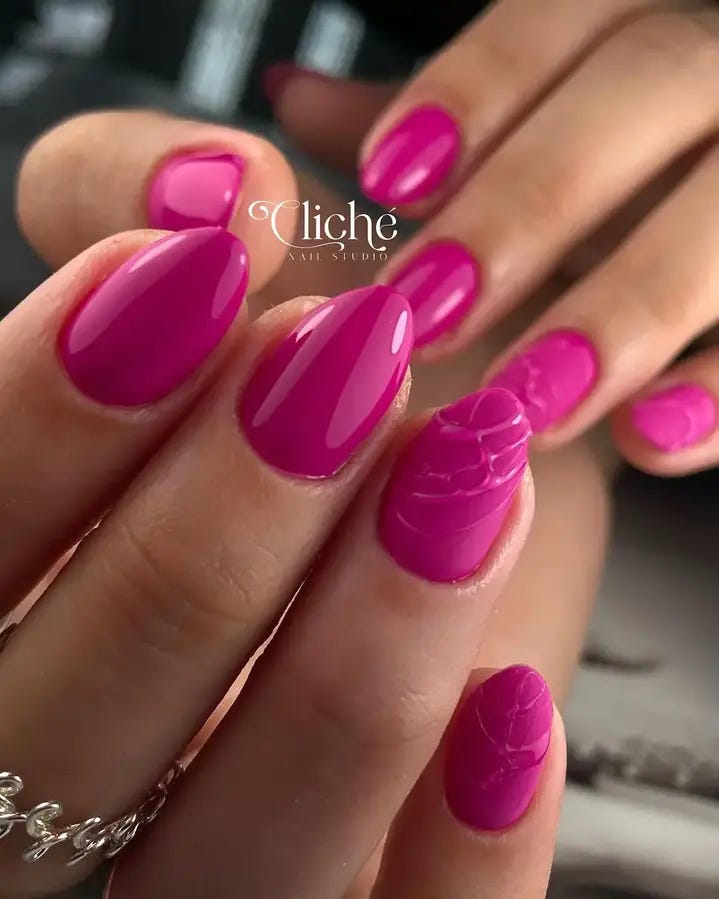
- Color gel: Various shades of Pink
- Embossing tool
- Top Coat: Matte and Gloss
DIY Guide: Choose a different shade of pink for each nail, ranging from pastel to deep fuchsia. Use an embossing tool to gently carve out designs before the polish sets. Apply alternating matte and gloss top coats to each nail, emphasizing the unique textures and elevating the overall aesthetic of the monochromatic theme.
Baroque Opulence
This design embodies opulence with its rich golden tones and lavish gem embellishments. Each nail is crafted like a piece of antique jewelry, complete with intricate detailing and a depth of texture that’s both bold and sophisticated.
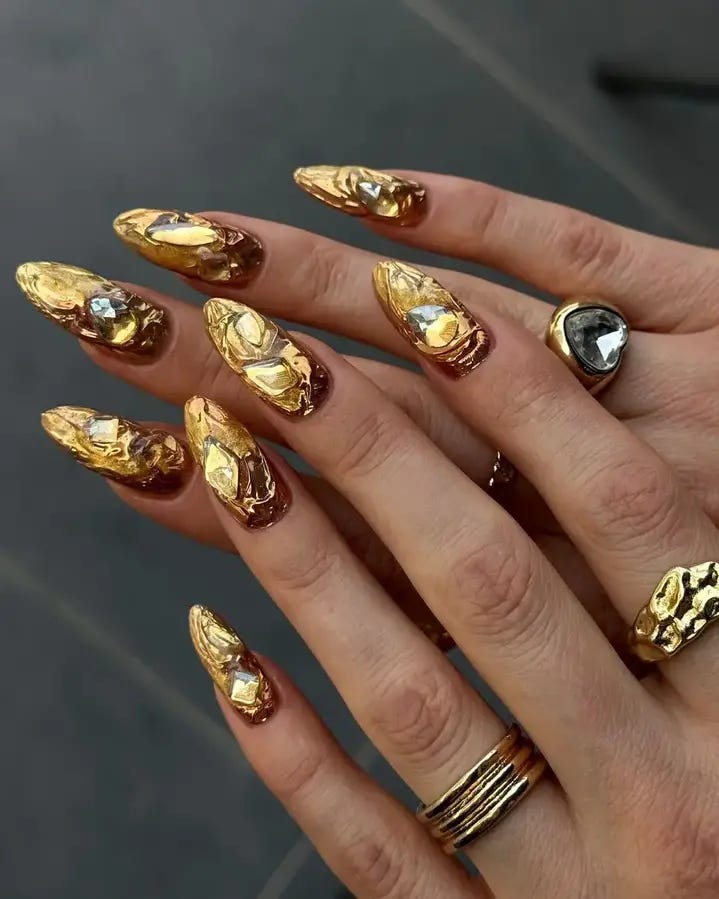
- Acrylic base: Deep brown
- Gold leaf and large gemstones
- Finish: High gloss gel top coat
DIY Guide: Apply a deep brown acrylic as the base. Carefully place gold leaf and press into the acrylic for full adhesion, then accentuate with large gemstones for a regal effect. Seal everything with a high gloss gel to ensure longevity and enhance the metallic shine.
Marine Serenity
Reflecting the calm and mystery of the sea, this nail design uses shades of ocean green and soft white, adorned with wave-like patterns and tiny bubbles reminiscent of a tranquil underwater scene.
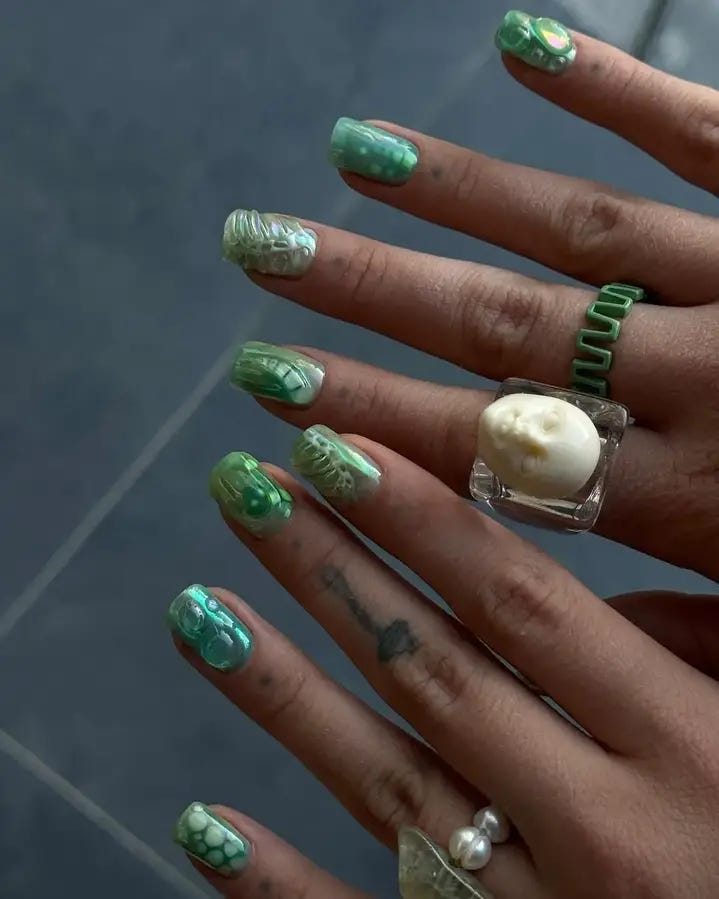
- Color gels: Sea Green, Opaque White
- Enhancements: Small white beads, clear crystals
- Top Coat: Glossy finish
DIY Guide: Start with a sea green base, blending into white at the tips. Use a fine brush to draw subtle waves and patterns. Decorate with white beads and clear crystals to mimic bubbles and water droplets. Finish with a glossy top coat to give the appearance of wetness and depth.
Ethereal Ocean Fantasy
This enchanting design transports you to a fantastical underwater world, featuring delicate floral patterns, shimmering scales, and soft, flowing lines that evoke the gentle movement of sea life.
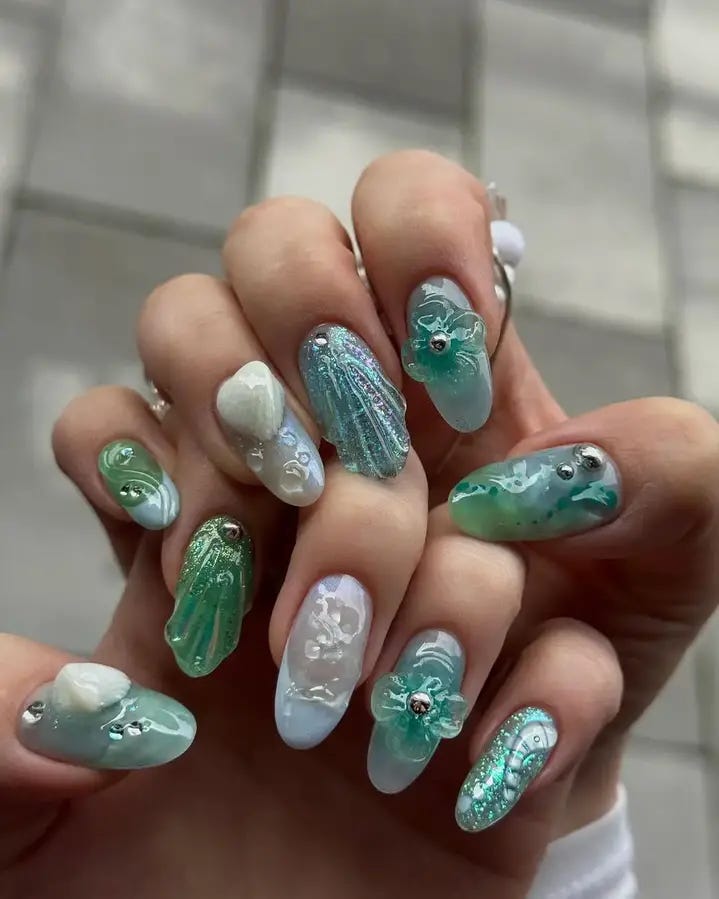
- Color gels: Mint Green, Pearl White, Shimmering Turquoise
- Enhancements: Tiny silver beads, crystal accents
- Finish: Matte and gloss top coats
DIY Guide: Paint a base of mint green, adding accents in pearl white and shimmering turquoise. Use tiny brushes to paint floral and scale motifs. Strategically place silver beads and crystals to catch the light and add dimension. Alternate matte and gloss finishes on different nails to create a multi-textural look that mimics the varied surfaces found beneath the sea.
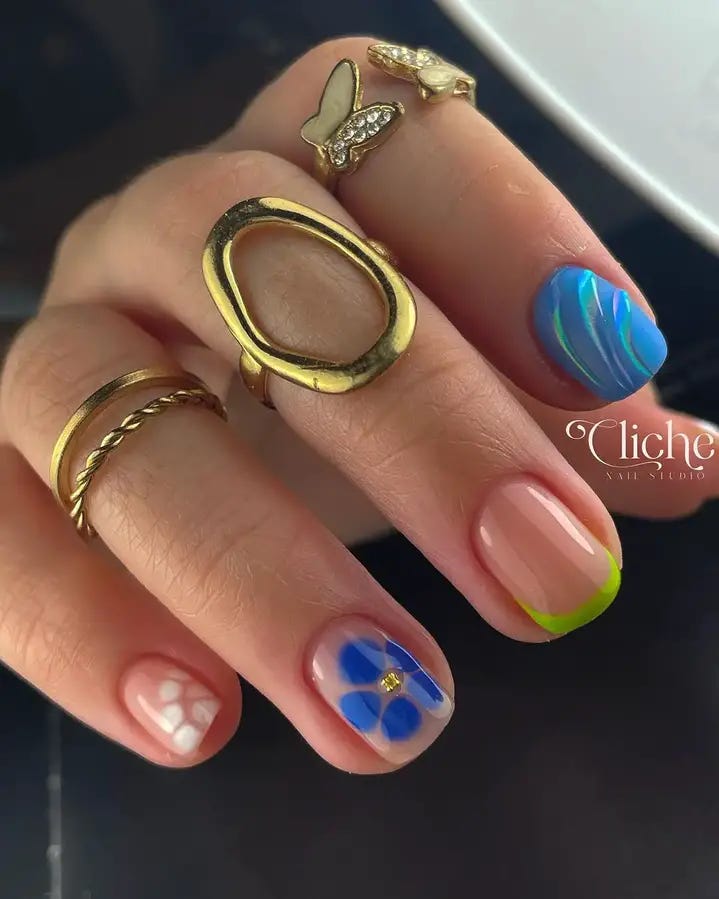
Playful Pastels And Bold Patterns
This design perfectly balances soft pastel tones with bold patterns, such as the striking leopard print. The combination of flowy blue patterns and peach tones accented with golden studs creates a multi-dimensional and highly personalized look.

- Color gel: Sky Blue, Peach, Transparent with embedded patterns
- Decorations: Golden studs, leopard print decals
- Top Coat: Glossy finish
DIY Guide: Start with a base of transparent gel. For the patterned nails, apply peach or sky blue as the base and then overlay with leopard decals or freehand swirls in a contrasting shade. Add golden studs to the center of each nail for a touch of glamour. Seal with a glossy top coat for a smooth finish.
Candy Cane Twist
Embrace the holiday spirit with this dynamic red and white candy cane design. The swirling patterns not only evoke the festive season but also offer a dramatic flair that’s both playful and eye-catching.
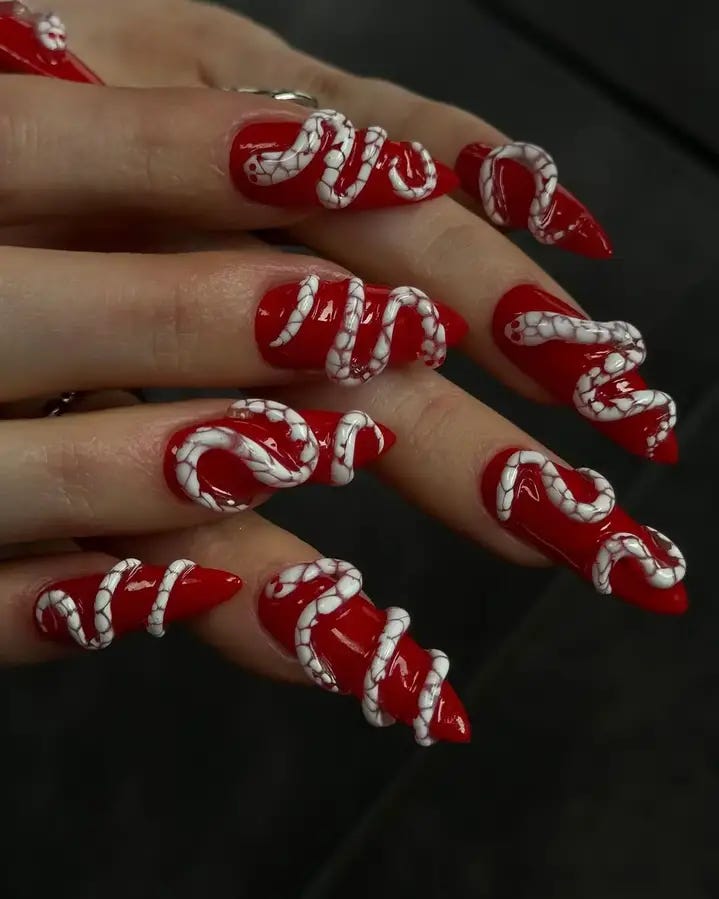
- Color gel: Bright Red, Pure White
- Tools: Detailing brush
- Top Coat: High gloss
DIY Guide: Paint your nails bright red as the base. Using a fine detailing brush, draw white spirals and curves to mimic the candy cane’s iconic stripes. Carefully layer each line for precision and depth. Finish with a high gloss top coat to enhance the vibrancy of the colors and ensure the design’s longevity.
Soft Clouds And Dreamy Accents
This whimsical design features soft, cloud-like color transitions decorated with tiny, colorful gemstones that add a playful and dreamy aspect to the manicure, ideal for expressing a light-hearted and creative mood.
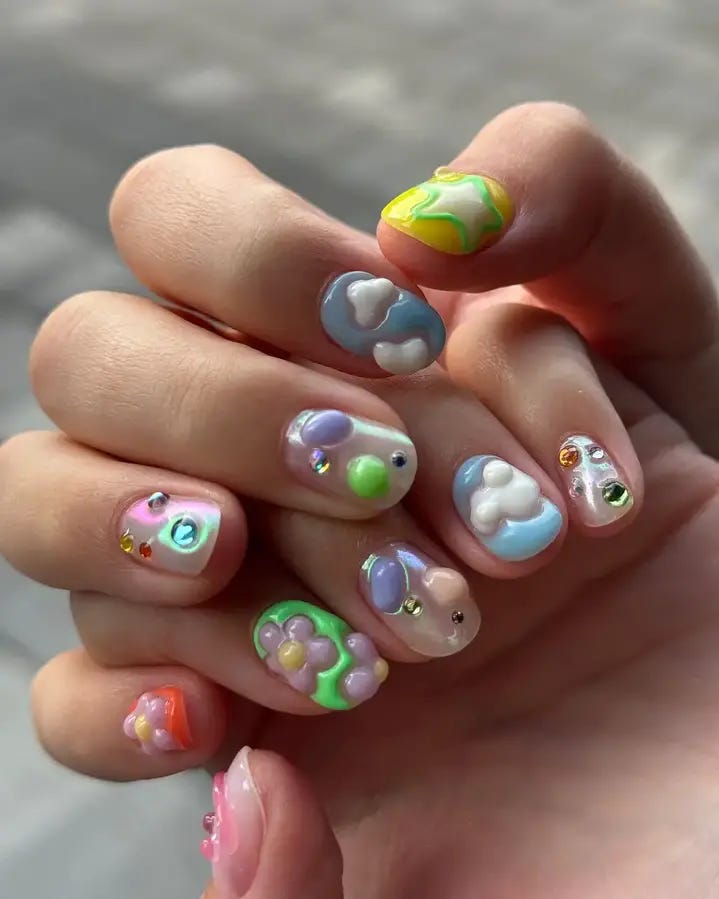
- Color gels: Pale Pink, Lavender, Baby Blue
- Decorations: Small multicolored gemstones
- Top Coat: Matte finish
DIY Guide: Apply a gradient effect using pale pink, lavender, and baby blue, blending each color smoothly to mimic the softness of clouds. Dot small gemstones across the nails to resemble droplets caught in the sun. Opt for a matte finish top coat to keep the look soft and ethereal, focusing the attention on the delicate colors and sparkling accents.


0 Comments