Embrace the Enchantment: Black and Purple Short Gel Nail Art for Summer Evenings. Dive into the mesmerizing allure of a summer night sky with captivating black and purple short gel nail art. Infuse your nails with the charm of twinkling stars or the cosmic splendor of a galaxy to elevate this celestial theme. This innovative manicure concept is ideal for individuals seeking a distinct yet effortlessly manageable style for the summer season.”
Tropical Escape In Bloom
Step into your own wild jungle with this design. The bright red and green hues of the intricate floral pattern will stretch across your blank canvas, making each nail a statement of untamed summer art.
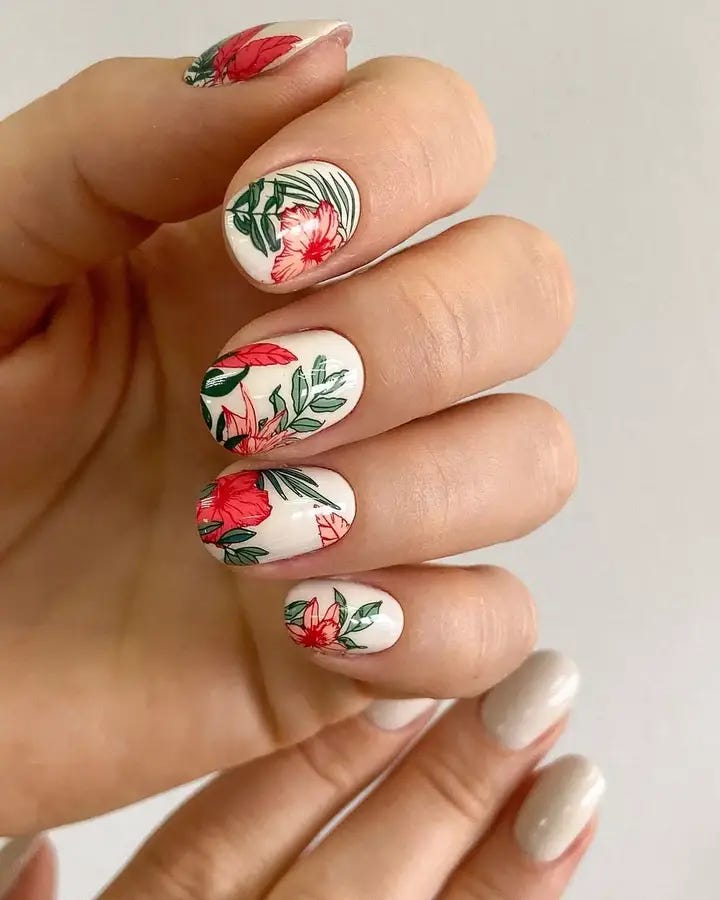
- Base polish: Essie’s Blanc
- Art polishes: Acrylic paints in red and green for more control and pigmentation
- Top coat: Seche Vite Dry Fast Top Coat
Acrylic paints can offer more precision for detailed work like this, and they won’t run or smear when a top coat is applied.
Start with a clean white base. Use a fine brush to outline the shape you want for your flowers, then fill them in with color. Begin light and work toward dark. Once dry, seal it off with a top coat to keep it safe
Abstract Greens: Marble And Mystery
This design takes on the appearance of a marble swirl, with its bold and hypnotic green waves. When paired with simple outfits they’ll sure to make a statement.
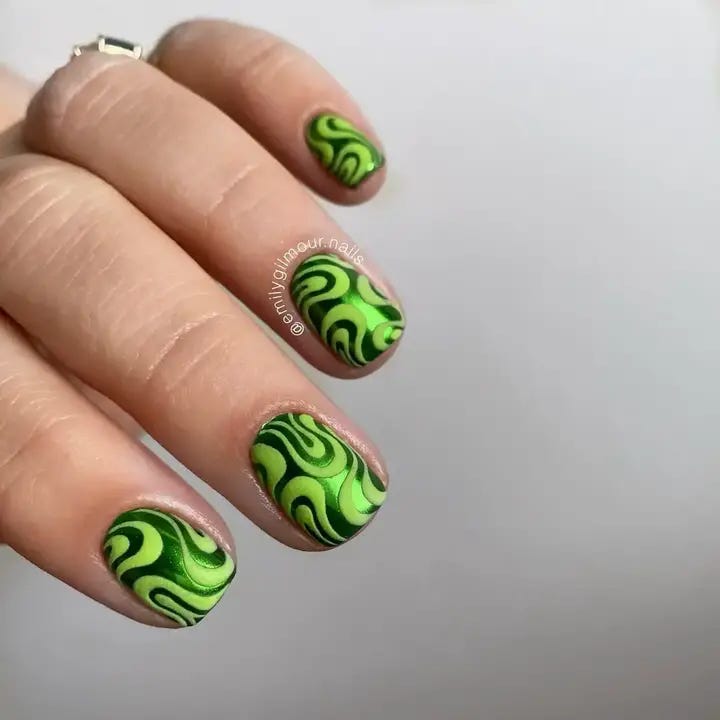
- Base polish: Pastel Green
- Art polishes: Deeper shades of green for marbling effect
Top coat: Gel finish for glassy look
Use a small dotting tool to drag the polish while wet to create a marble-like effect. Work as swiftly but deliberate as possible.
Start by applying your pastel base color, then add dark shades of green while it’s still wet. Take a small dotting tool and blend them together using pressure in quick circular motions. After this, cure under light or air dry and apply top coat if needed.
Summer Meadow: Delicate Florals And Buzzing Bees
This is a summer manicure in its purest form. The pastel pink backdrop of the finger canvas contrasts and complements the wildflowers’ simple elegance, not to mention the bee that was added as a cute touch. This design is for those who love nature and want their nails to reflect that beauty while also showing off holiday cheer.
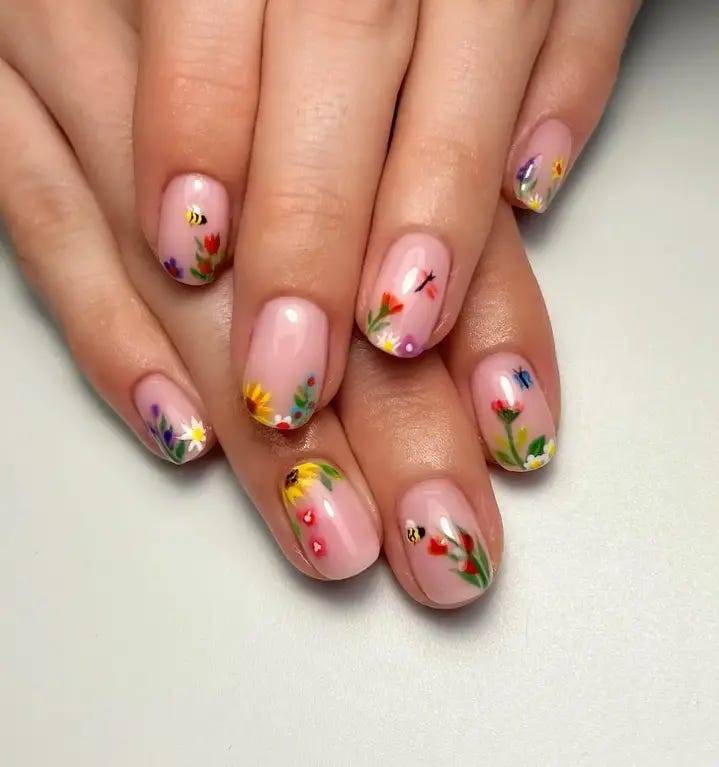
- Base polish: OPI’s Mod About You
- Art polishes: Various colors for the floral details
- Top coat: A long-lasting top coat to keep everything in place
If flowers are something you’re painting on your nails be sure to work gradually. Start with basic outlines then add detail after each layer dries.
Start by painting your entire nail with pastel pink polish as the base color. Once it has dried use a fine brush to paint on the flowers, starting with their outline then following up with other details. To make the bee, mix yellow and black polishes together until you like how it looks, then use a dotting tool for its wings. Once all of that has dried apply a layer of top coat over everything so nothing smudges or chips easily.
Green French With A Twist
This manicure is a twist on the classic French. The green tips bring new life to the traditional look. The green is also great for summer, and it will have you thinking about lush gardens.
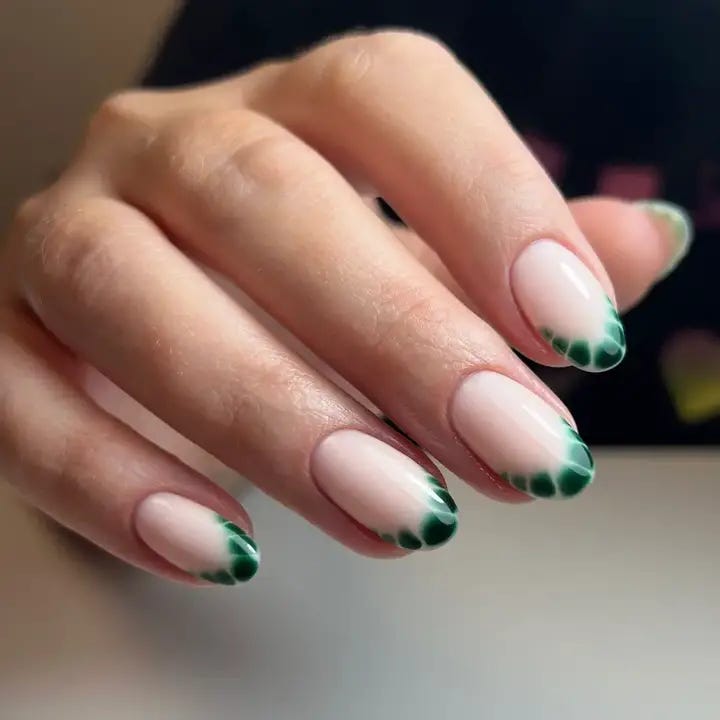
- Base polish: OPI Bubble Bath
- Green polish: Essie Off Tropic
- Top coat: Seche Vite Fast Dry Top Coat
Customize your nails by playing with the thickness of the green tip.
After applying a base layer, draw a crescent along your nail using the green polish. Use a brush dipped in remover to clean up any mistakes. Finish off with a top coat if you want an extra glossy look.
Confetti Celebration
Looking to get creative with your nails? Look no further. This design is a burst of joy with its colorful specks. If you’re feeling a little playful, then this nail art is the way to go! Let your imagination run wild with this one-of-a-kind design. The random dots and strokes in pastel and bright colors give a party vibe, perfect for any summer holiday or just to brighten an ordinary day.
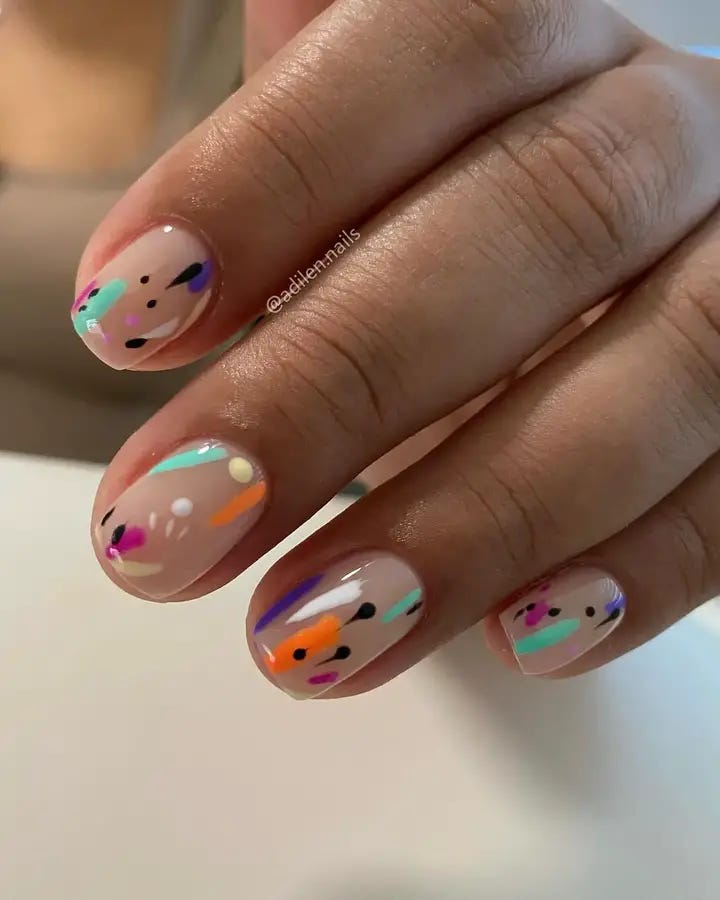
- Base polish: OPI’s Put it in Neutral
- Various polish colors for the dots
- A dotting tool or the head of a pin
Be patient, sometimes these things take time. Wait for each color to dry slightly before starting the next, otherwise you’ll be left with some smudged lines.
Apply a natural base color. Once dry, dip your dotting tool into various polish hues and apply to the nail in a random fashion. The trick is not to overthink it — the more spontaneous, the better. Seal with a top coat.
Red Almond French With Starry Accent
So you want a design that’ll make heads turn huh? We’ve got just the thing for you. This manicure is for those who choose to live on the edge, it combines a deep red with a natural simple base, and tops it off with delicate star accents. It’s a classy yet simple look with an almond shape that’ll never go out of style.
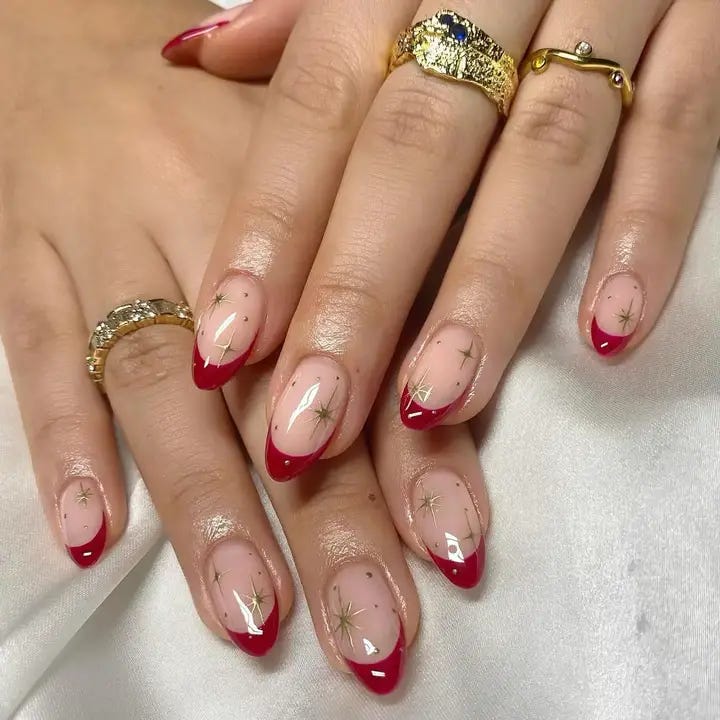
- Base polish: Essie’s Ballet Slippers
- Red polish: OPI’s Big Apple Red
- Star decals or stickers
Use a detailing brush if you’re painting the stars by hand, it allows for more delicate work so you can get precise with your art.
Start with a pale pink base. Once dry, paint the tips with your red polish. Add the star decals or use a fine brush to draw them on. Finish with a top coat to secure your design.
Botanical Bliss On Short Nails
The art found here is a real depiction of a garden in it’s most delicate state. The nail art is simple, yet intricate and perfect for the summer. Each nail is like a mini canvas, with some having only one branch and others showing off leaves with pastel colors. It’s a genius work of art.
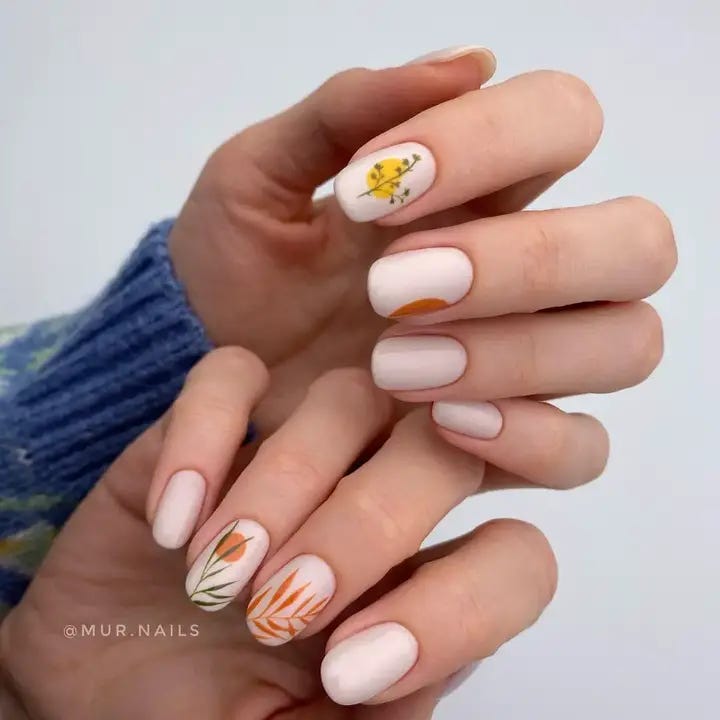
- Base polish: CND’s Shellac in Cream Puff
- Art polishes: A variety of green and orange shades to depict different branches and leaves
- Top coat: OPI’s Top Coat for shine and strength
Use a very fine brush for the small details on the branches and leaves. Take your time when painting, and let every stroke speak.
After you finish applying your base coat, use your fine-tipped brush to add the botanical designs. Begin with the stems, then paint on the leaves after those dry which should be followed by the orange buds. Make sure each element has dried before adding another layer. Once you finish painting everything you want, seal it all in with some top coat.
Natural Look: Sheer And Glossy
For those with elegant taste, this manicure is for you. These nails are simply and beautifully done with a sheer gloss finish on top. It’s an effortless style that speaks sophistication. The gloss enhances the natural beauty of the nails making it perfect for any occasion or look.
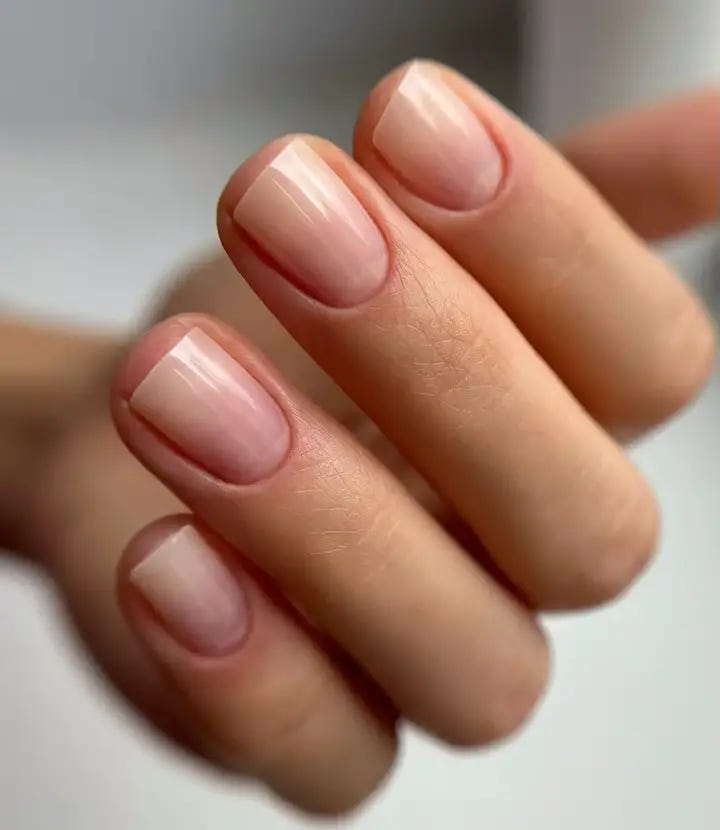
- Base polish: Essie’s Mademoiselle
- Top coat: Sally Hansen’s Miracle Gel Top Coat
Natural looks come from healthy lifestyles. Take care of your nails and the polish will do its job in showing off its strength.
After using a good base coat, apply one layer of sheer polish. Wait for it to dry then finish off with a glossy top coat to give it that glass-like shine.
Summer Fruit Frenzy
Get ready to dive into summer with this fun and colorful design that’s as vibrant as a strawberry smoothie. It’s a playful twist on the typical fruit pattern you see in the summer, with each strawberry having its own character and set against a backdrop of sky blue and pastel pink.
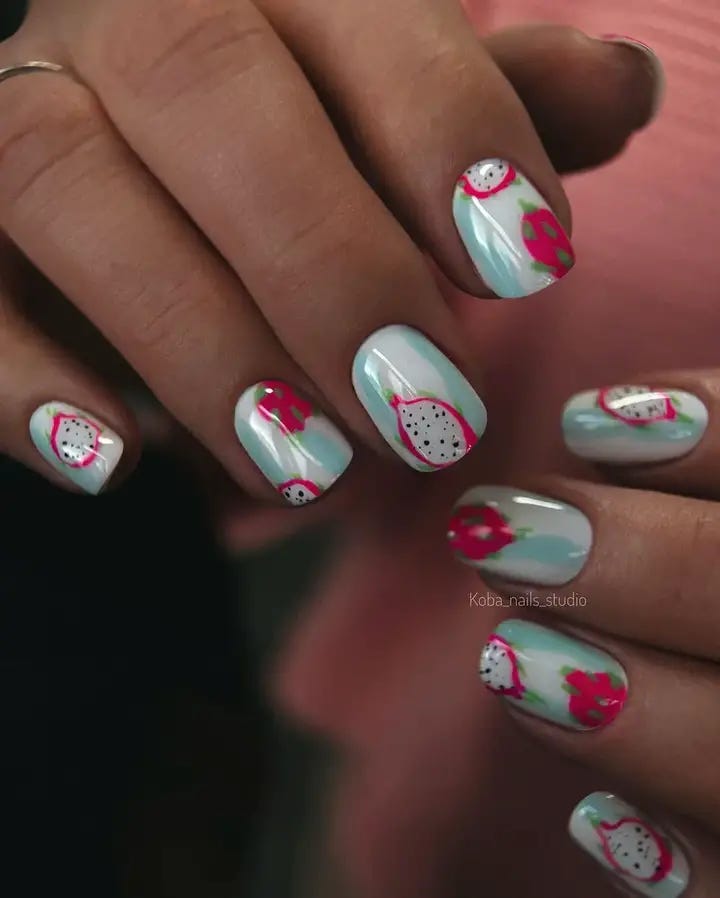
- Base polish: OPI Alpine Snow
- Art polishes: Shades for the strawberries and leaves
- Top coat: Seche Vite Dry Fast Top Coat
A professional nail artist shared their advice, saying “Don’t worry about making each strawberry look perfect! In fact, it’s better if they all look different from one another. That’s where the magic lies.”
- Here are the step-by-step DIY instructions:
- Apply your base color.
- When dry, paint your strawberries.
- Add tiny seeds using a dotting tool.
- Finish by painting your leaves green.
- Remember to have fun with it and try not to make them too perfect!
- Seal the deal with a top coat to keep everything in place!
Perfectly Pink: Classic Chic
Simplicity meets beauty with this pink. Short nails paired with it are truly a love to timeless style. The gloss finish helps catch the light, making it shine bright and easy to wear for a holiday or even just every day.
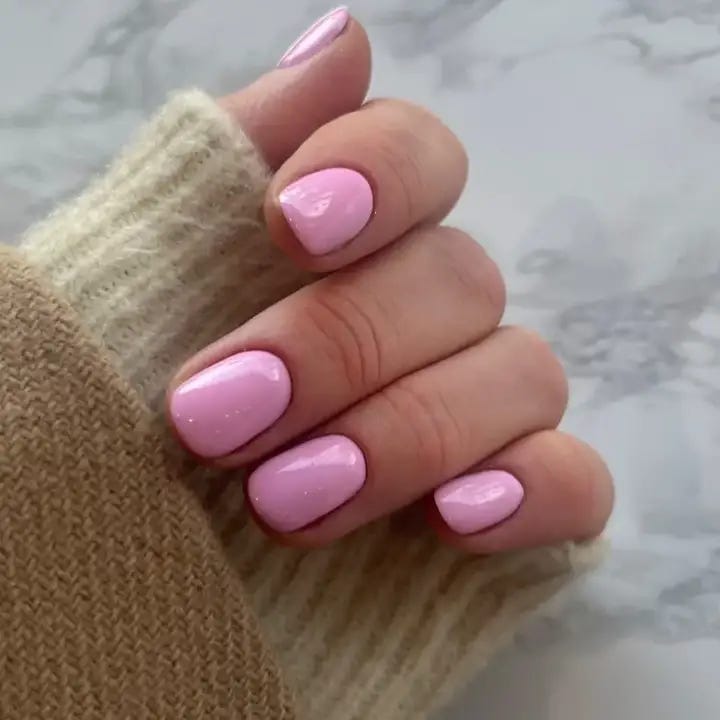
- Base polish: Essie’s Muchi, Muchi
- Top coat: Glossy Gel Top Coat for shine and endurance
When going for a classic look, be sure your nails are well shaped and cuticles are taken care of to make the polish really pop.
After shaping your nails and tending to your cuticles, simply apply two coats of pink. Let each coat dry completely before applying the next one. Finish off by adding a gel top coat for that last touch of shine that’ll keep it going all day!


0 Comments