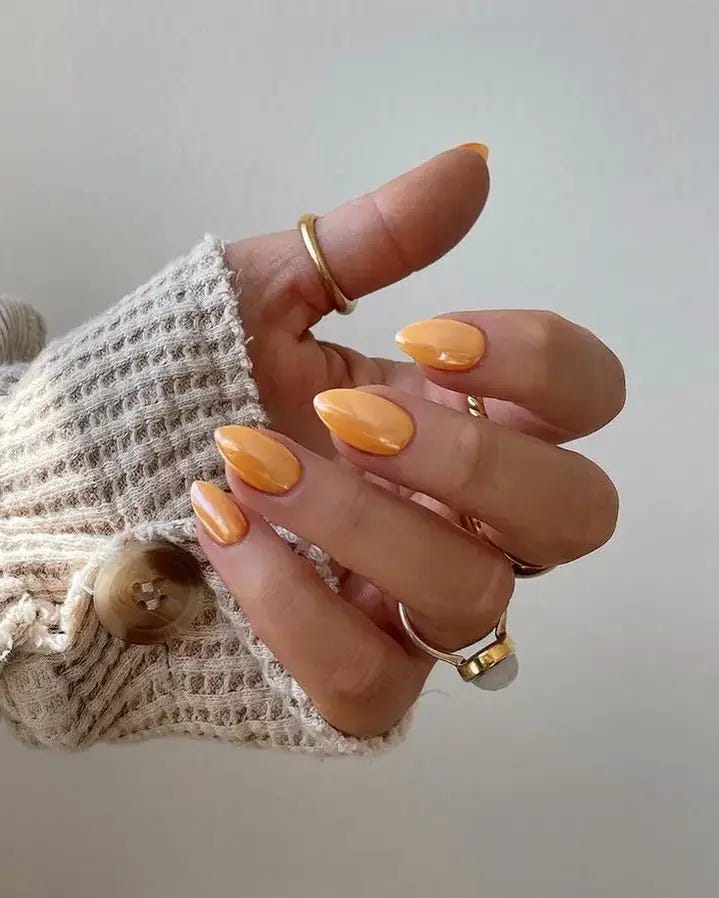
Elegant Burnt Orange: Sophisticated Summer Nails. For a more subdued but equally stylish summer look, choose a burnt orange shade. This rich, deep color works beautifully on almond or square-shaped nails and can be dressed up with gold accents or bling for a touch of luxury. These nails are perfect for both daytime sophistication and evening elegance.
Orange Zest: Marbled Elegance
Marbled effect nails are trending and elegant. The different orange shades of light and dark mix up like a marble, making me think of the vibrant pink citrus fruits of summertime and flaming sunsets.
- Different Gel Polish Colours for Marbling
- A Pointed Stick to Marble
- Top Coat for shiny finish
DIY Tips:
- Put on a base coat then keep it under a UV lamp.
- Apply various orange colors in dots to your nails.
- Use the stick to swirl around mixing the colors thus creating a marbled effect.
- Finish with top coat and cure design for durability.
Garden Whimsy: Floral Delight Meets Sunset Hues
This concept reflects summer garden nostalgia in nails, featuring coral art and bright flowers against a translucent backdrop. It combines elements of nature with burnt orange representing the sun at dusk which makes it perfect for someone who loves vibrant colors during warm months outdoors.

- Transparent pinkish gel nail polish (base coat)
- Burnt orange acrylic paint (for flower design)
- White and green acrylic paints (additional details)
- A fine brush (for painting petals and leaves)
- Top coat (to add shine and protect the design)
Do-It-Yourself Tips:
- Apply a thin layer of sheer pink gel polish as the base coat, then cure it.
- Use acrylic paints to hand-paint floral patterns on each nail with a fine brush.
- Finish off by applying topcoat for extra glossiness that will also help preserve your masterpiece.
Gilded Accents: Opulence And Flair
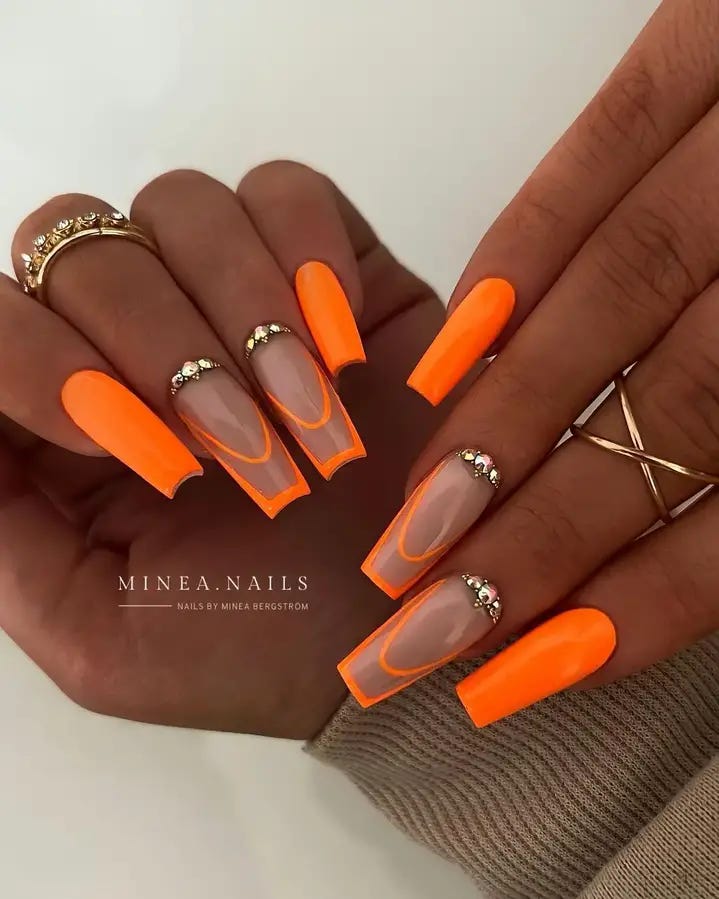
In case you want to be beautifully radiant like the sun in summer, then this design with gel polish, gold flakes and rhinestone embellishments is the last word in luxury. The look combines neon’s vibrancy with bling’s elegance; it is suitable for a night out or other special events during summer period.

- Neon orange gel polish base for a fearless outlook
- Gold leaf flakes and rhinestones blinging
- Nail glue for securing decorations
A top coat that will finish the whole thing
DIY Tips:
- Paint your nails with one thick coat of neon orange.
- Apply nail glue and carefully place golden fragments and rhinestones.
- Finish off by applying topcoat to preserve them all.
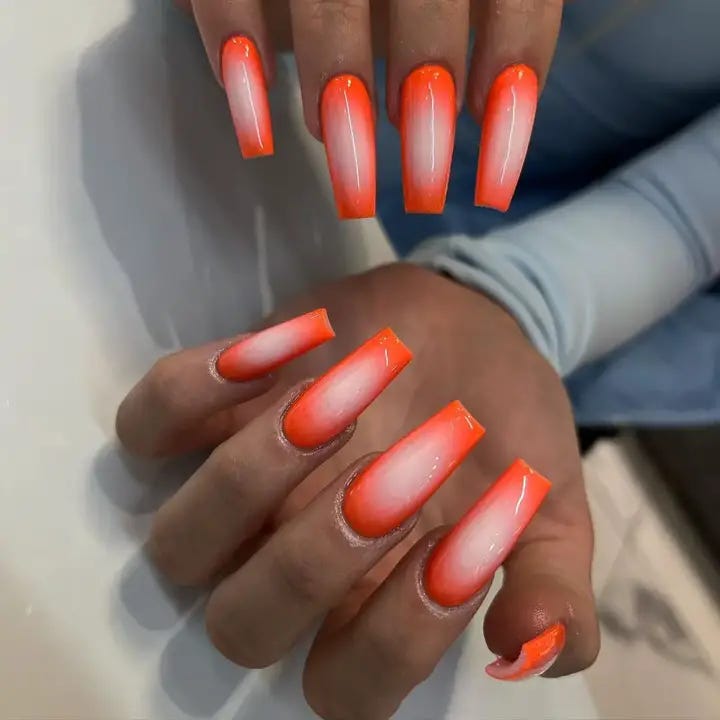
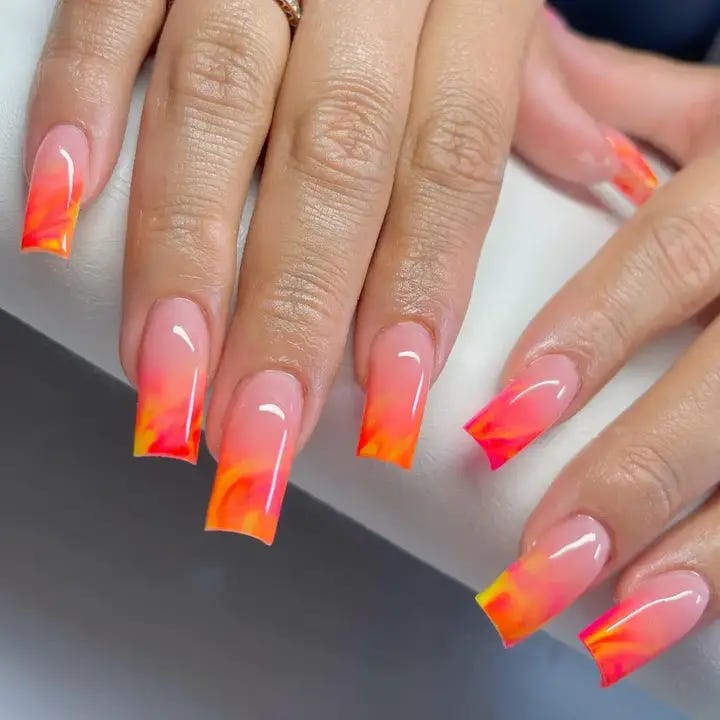
Ombré Flame: A Fierce Gradient
This is a nail art design that resembles fire, with blackened and shiny orange colours merging smoothly together. It is a hot and in vogue appearance capturing the heat of summer making it perfect for those who are summer minded.
- Different orange gel polishes for gradient purposes
- Color blending sponge
- Smooth top coating
DIY Hints:
- Always start off with the lightest shade as base.
- Use sponge to apply darker shades from tip to middle.
- Finish by applying a top coat for nails that are as hot as the sun on a midsummer day.
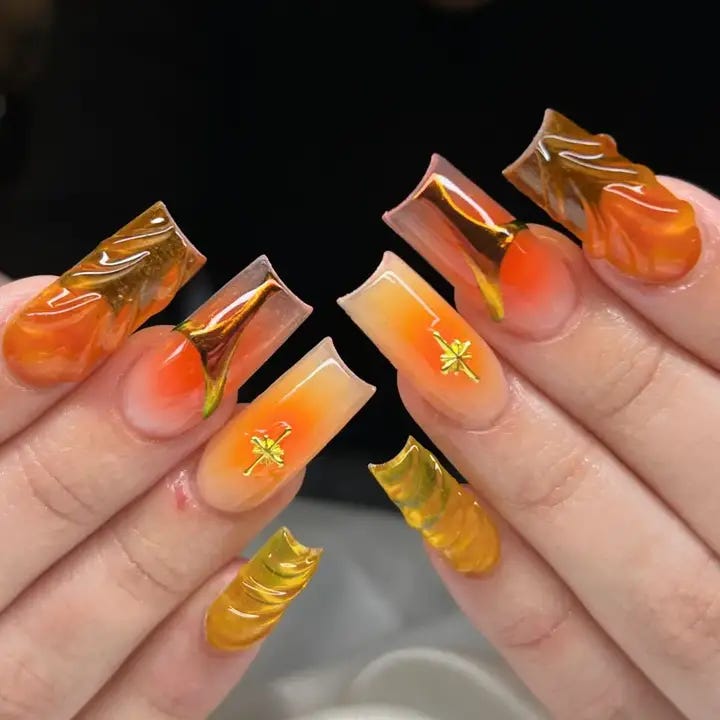
Summer Blaze
This nail design is a perfect representation of fall with warm orange and gold touches. This design fades from a burnt orange to clear at the tip of the nail, decorated with gold foil for a luxurious feel. This manicure is great for going from summertime energy to autumnal coziness.
- Gel polish in burnt orange (base color)
- Gold foil (for luxurious accents)
- Topcoat (to finish off the look and seal it in)
How To:
- Apply gel polish in burnt orange, letting it fade about halfway up the nail for an ombre effect.
- While the polish is still wet, place pieces of gold foil on the tips.
- Add a top coat over everything for added shine and to help it last.
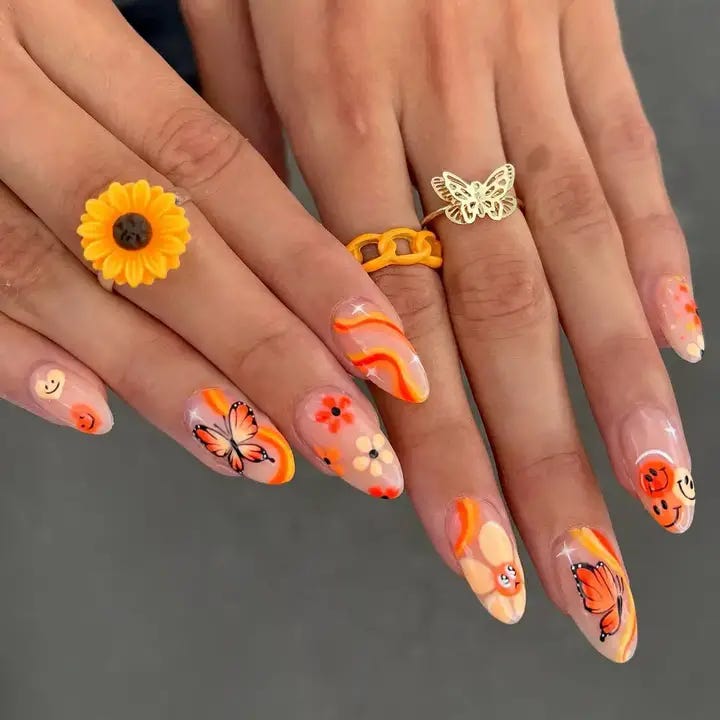
Burst Of Summer: Vibrant Florals And Butterfly Kisses
The designer celebrates the season by incorporating light-hearted art with summer orange colors. Over it, overlays of thin flowers, orange swirls and fanciful butterflies on a clear foundation tells the story of a garden in full bloom during summertime. The cute flower and butterfly accents represent not only growth but also change and positivity for those who may want to show such feelings through their fashion choices.
- Translucent Pink Gel Polish (Base)
- Art Stuff needed: orange, black, white acrylic paints
- Small paint brushes for detailed work
- Top coat to protect design
DIY Instructions:
- Put down some layers of the translucent pink polish as a base
- Swirls and fauna motifs can be painted using acrylics with thin brushes being used for detail.
- To preserve it like new until fall seals this small canvas with top-coat.
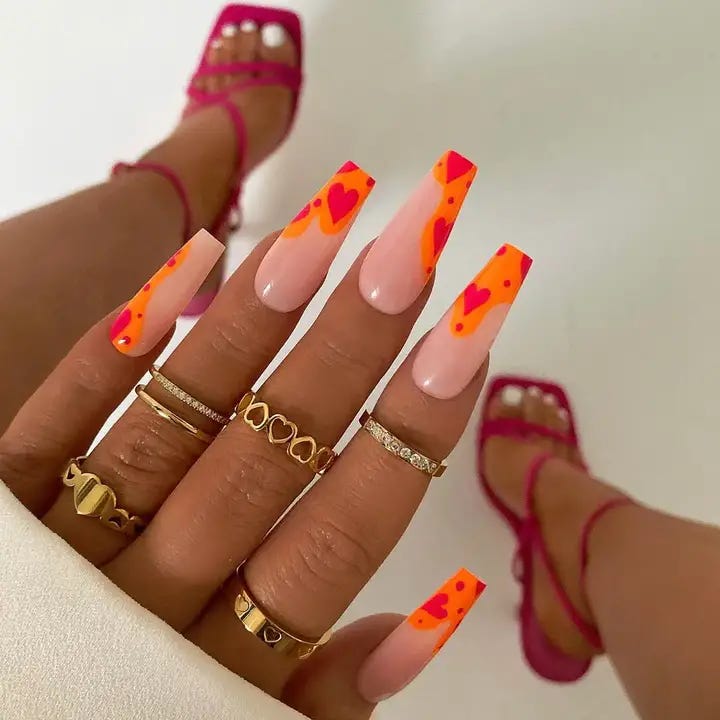
Heartfelt Neon: Love In Bright Pink
A pink heart design on a summer’s day can only mean bright and neon. It is more than just a nail design — it is a statement piece that exudes love and gaiety and it is perfect for those hot days as well as long warm nights.
- Gel polish in neon pink
- Pastel pink gel polish for the gradient effect
- Nail decals or stencils shaped like hearts
- A sponge for ombre
- Glossy top coat
DIY Tips:
- Using a sponge, combine neon and pastel polishes together to create an ethereal gradient.
- Put on heart decals or hand-draw hearts in strategic places.
- Finally, add glossy top coat which will make the hearts stand out.
Golden Hour: Sunset Glow On Your Fingertips
The design is an orange gradient with gold accents that represents the beauty of a sunset on one’s finger nails. The star shaped appliques make it glamorous and creates a celestial theme. It is perfect for anyone who wants to add some bling to their nail game and keep it classy.

- An even light orange gel polish for the gentle sunset base
- For the gradient, bright orange gel polish is required
- To achieve metallic accents, use gold foil
- Starry effect can be achieved through star appliques
- A top coat will help in securing everything in place.
DIY Tips:
- Start with a light orange base, fading into a bright orange tip.
- Press gold foil into uncured polish randomly for flashes of random metallic.
- Finish with a top coat and place star appliques for infinite design like the night sky.
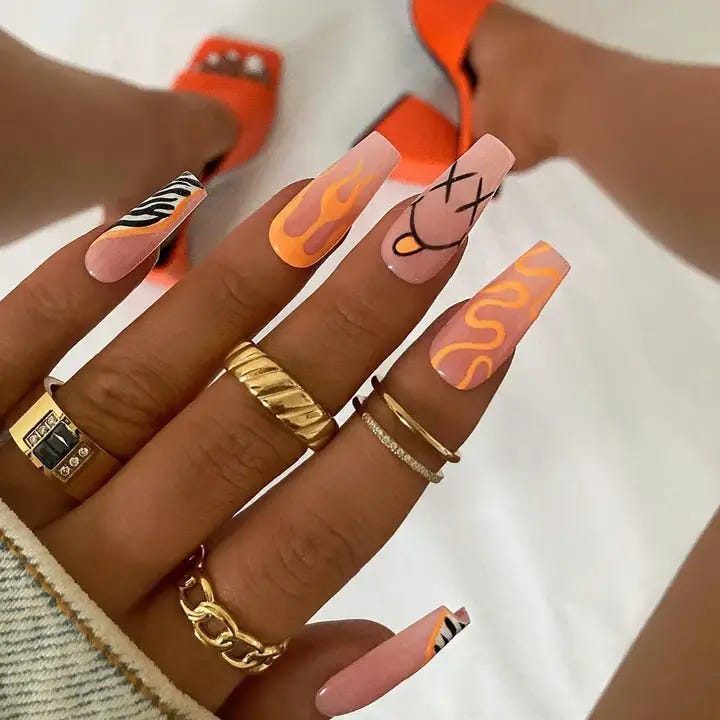
Trendy Graffiti: Urban Art Meets Manicure
Graffiti art is not limited to walls; it can also be done on nails. The mischievous loops and squiggles in pastel and neon orange are for those who have the sun in their heart and the city at their fingertips. It represents uniqueness and delight from being conventional breakers.
- Bottom coat of light pink hard gel
- Top coat for finishing touches
- Nail art pens in neon orange and black for accurate lines
Directions:
- Apply a base layer of pastel pink.
- Allow it to dry before using bright orange or dark-colored artistic pens to create curvy lines or weird shapes.
- Finish off with a top coat that will bring out your personal graffiti.
Fiery Ombre: The Sunset Blend
Nail design reflecting the summer sunset, whose sun colors of fiery red and bright orange create a warm embrace for any summer evening. The change from vivid to gentle fades is seamless, thus becoming an amazing visual representation of the sky’s twilight palette. It is meant for daydreamers, romantics and those who notice charms in every single breath.
- Fiery red and bright orange gel polishes
- Sponge — ombre blending
- Top Coat — smooth glossy finish
To achieve this sunset-inspired ombre:
- Apply a base coat using a bright orange gel.
- Use sponge to dab on some fiery red while gently merging its hues.
- In order to get a feel of what your nails are all about; you can use top coat..
Neon Dreams: Electric Summer
Not just following trends, these nails set them. That is why it bears strong resemblance to bright pink summer vibes and inspiration behind the vibrant summer days in stark neon orange. Including a sweet clear nail shape and bling near the cuticles, this design represents what summer fun and nail art is all about.
- Statement color: Neon orange gel polish
- Base coat: Clear gel polish
- Accessories: Rhinestones and adhesive for extra sparkle.
- Top coat to make it last longer.
DIY Tips:
- Use a clear gel polish as a base.
- Dip the tips of your nails halfway into the neon orange polish.
- Put rhinestones near your cuticles.
- Finish it with a top coat that will give you an electrifying look during summer.
Citrus And Cream: A Smooth Summer Duo
A simple design for nails that is pretty at the same time is created by a gradient from vivid orange to smooth creamy hue. This means you can have summer’s freshest, most cooling treats on your fingertips. The trendy nail design hints at the season subtly and it is perfect for people who want color to whisper but not shout.

- Splash of summer — zesty orange gel polish
- Soft transition — creamy gel polish
- Long-lasting shine — high-quality top coat
DIY Steps:
- Apply creamy gel polish as base.
- Blend in orange polish from tips while still tacky, ensuring evenness of gradients along the way.
- Seal with a top coat to finish off this citrus inspired look.
Blue Wave: Cool Tides On Hot Days
There is nothing like a wave of cool to break the heat and this nail art captures that. With blue and orange providing a fresh, trendy contrast this look is for those who love summer trends with just a touch of refreshment. The gel waves bring a dynamic motion to the design, making it an addition to any summer wardrobe that’s full of life.
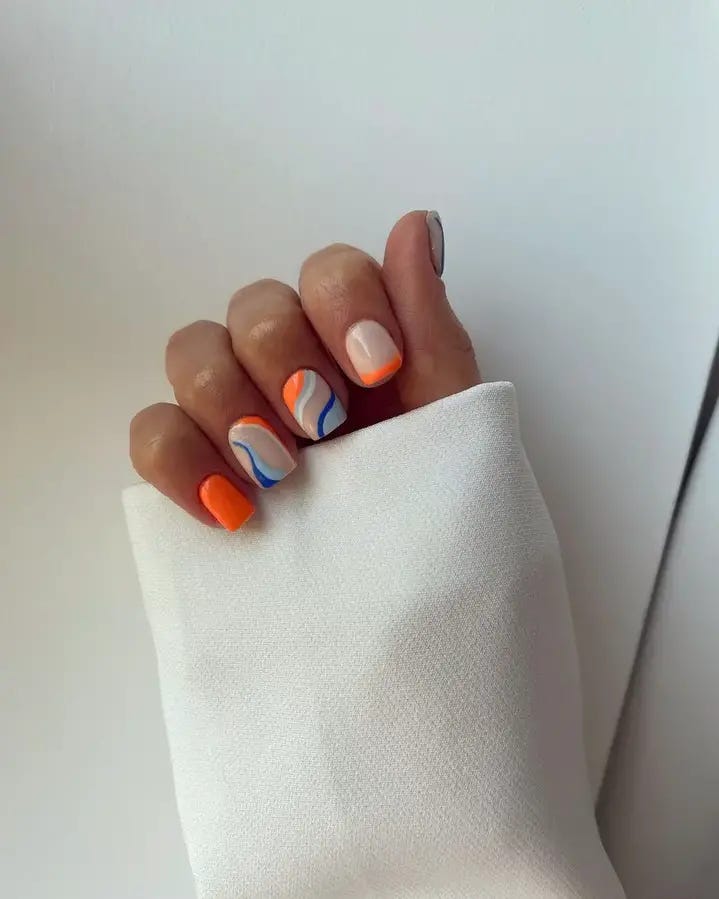
- Orange and blue gel polishes for contrast
- White gel polish to highlight the wave crests
- A fine brush for detailed wave designs
- A top coat for a smooth, finished look
DIY Tips:
- Start with a neutral base coat.
- Paint on the waves with blue and orange using a fine brush for precision.
- Accent the waves with white highlights as if they are being reflected by sun lights.
- Apply a top coat so you can protect your mini oceanic artwork.
Swirls And Stripes: Orange Creamsicle Dream
The design has a creamy base with orange swirls that resemble the famous summer treat creamsicle. Its playful yet sophisticated look makes use of simple lines with a twist. This design brings together old and new styles, thus making it an absolute nail sizzler for summer.
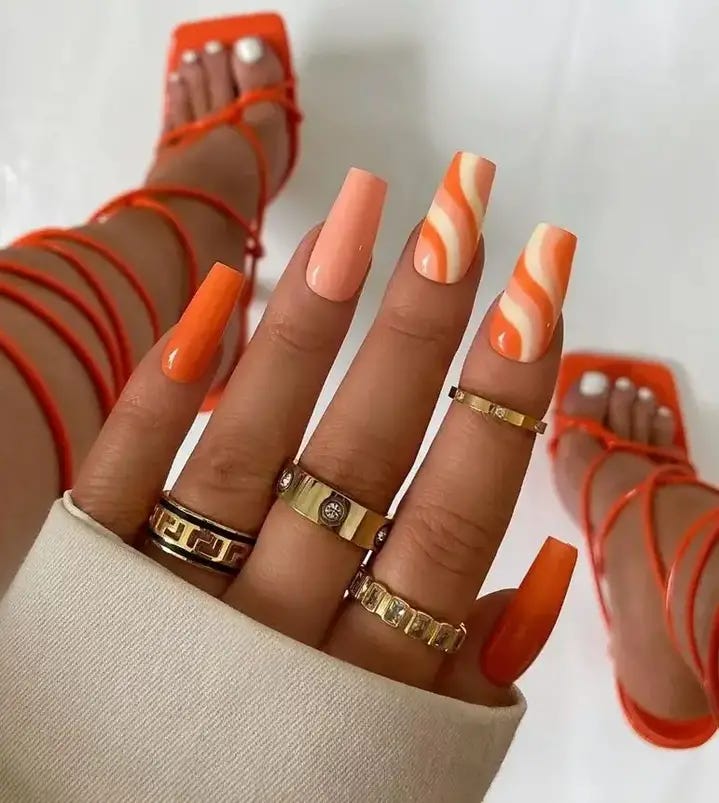
- Base — light orange gel polish
- Swirls — darker orange
- Line tool/ fine brush- striping pen
- Top coat- to make sure your nails remain elegant all through till you change them again in the next summer.
DIY Tips:
- Paint the nails with light orange polish as a base.
- Create the swirls using dark orange over the base color.
- Painstakingly perfect the lines by smoothly using a striping tool on them.
- Freshen up with a top coat like when you are enjoying or cooling down from hot weather during summertime.
Sleek Elegance: French Twist With A Citrus Edge
This new interpretation of the French manicure gives a classic look some zest. The clean light base with bright orange summer tips represent smoothness and gracefulness. It is a design that shows how much the wearer loves traditional fashion but with a fun twist for the season.
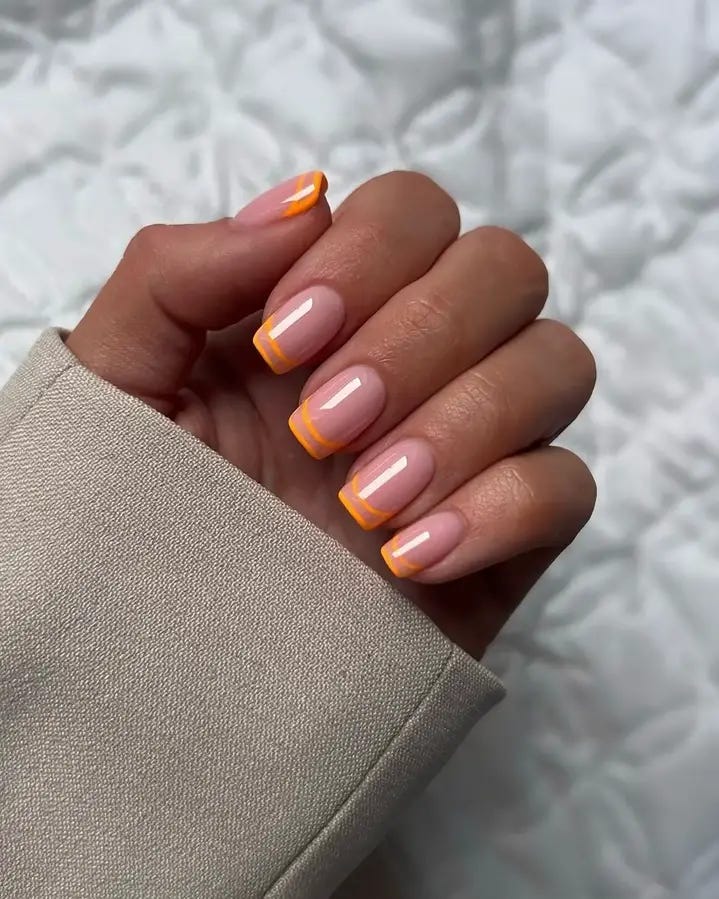
- Gel polish in a light pink shade
- Gel polish in summer orange
- A striping brush for painting precise tips
- A top coat with high shine finish for added durability
Tips on How to Do It Yourself:
- Apply light pink polish as base and cure it.
- Paint summer orange tips using striping brush, keeping lines neat and clean.
- Finish off with top coat to protect and enhance your modern French manicure.
Molten Lava: Flowing Neon Energy
If one wishes to have the feeling of summer on their hands, this design is like a melted lava. A vibrant neon orange shade offers an explosion of energy perfect for any summer escapade or mood lifting.
- Neon orange gel polish for that electric color
- A no-wipe top coat for a shiny, glass-like finish
Guidelines for Self Application:
- Apply two coats of the neon orange polish to your nails so that they are opaque and bright.
- Seal with a no-wipe top coat for a seamless, glossy look.
Golden Honey: Sweet Elegance
A honey color with a soft, matte finish is combined with a glossy bright orange, resulting in a look that is both sweet and sophisticated. This manicure suits those who appreciate the subtle richness of summer’s palette.
- Striking bright orange gel polish
- Matte honey-colored polish for contrast
- Two textures, one from matte and another glossy top coat
DIY Tips:
- Paint on one layer of the glossy orange nail polish and cure it.
- Apply the honey colored polish on your nails to make them look matte before adding a top coat with matte finishing.
- For shiny nails, use an overcoat of orange-colored shiny top coat.
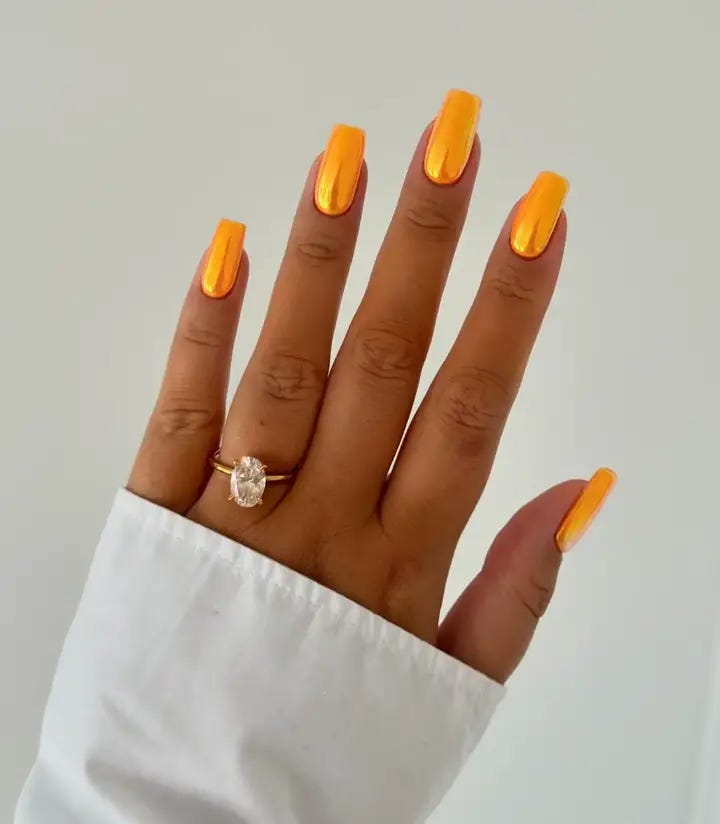
Solar Flare: Vivid Radiance
This design recalls the bright colors of a solar flare, including a striking neon orange that is impossible not to see. It is an outfit that speaks for itself and carries with it all the energy and brightness of the sun; this makes it perfect for people who do not want their manicure to go unnoticed.
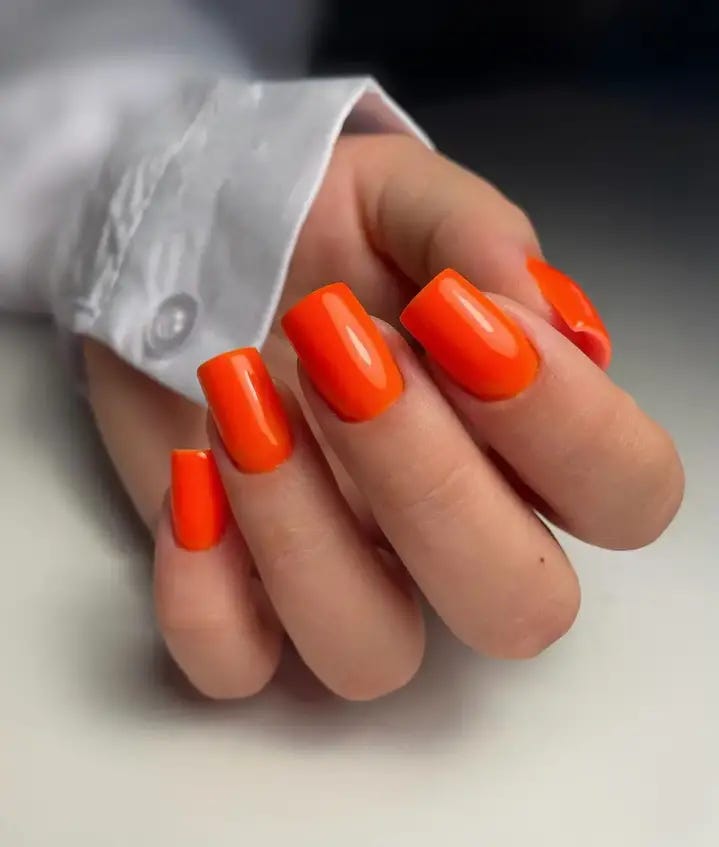
- Gel polish in neon orange for a vibrant hue
- A clear topcoat with a shiny finish
Tips for DIY:
- Apply neon orange gel nail polish to achieve a bold, striking look.
- Use glossy top coat to enhance the vibrancy of color.


0 Comments